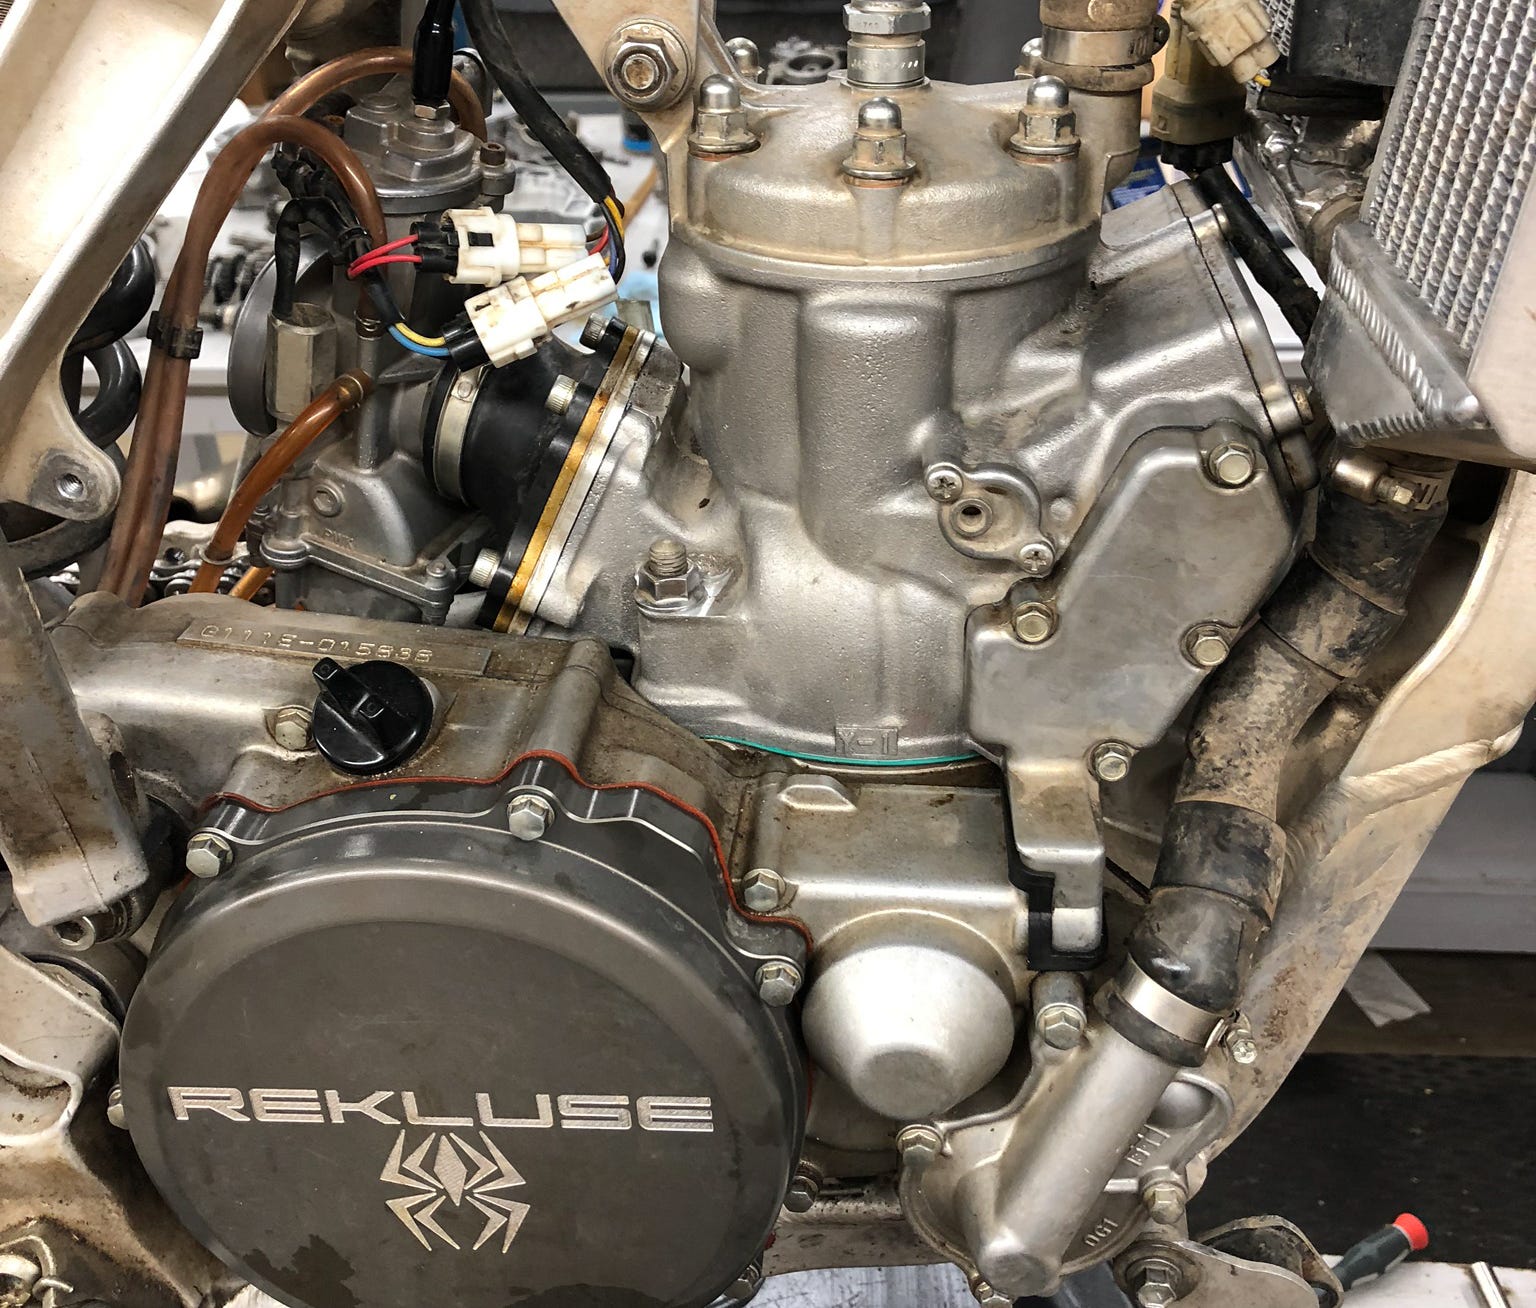
2-Stroke Top End Rebuild Guide
Top-end rebuilds are a necessary maintenance task associated with high performance off-road two-stroke motorcycle ownership. The common belief is that performing a top-end rebuild is a simple task that anyone can do, which is true, however, the devil is in the details. Sloppy, incomplete, or top-end builds done wrong can jeopardize performance, reduce reliability, and ruin the bottom end in the process.
At Wiseco, we have been manufacturing top-end two-stroke engine components for decades and have been building engines for just as long. To ensure your Wiseco top-end parts run trouble free, we’ve put together some top-end rebuild tips that will ensure your next build is your best build. These tips will be discussed chronologically and will encompass all phases of the build from diagnosis and preparation, to disassembly, through post build. The tips we’re going to share shouldn’t be considered inclusive of everything that has to be done but are tips that focus on things that are either often overlooked or incredibly important. Let’s dive in!
Before Teardown
Pre-teardown activities can be an insightful way to help pinpoint any internal issues and prepare for upcoming work. Check out these three pre-teardown tasks that will streamline the whole process.
- Diagnosis – Before tearing the engine apart, are there any signs that a specific problem exists? If so, are there any diagnostic tests such as compression or crankcase leak down that are worth performing?
- Service Manual – Performing engine maintenance without an OEM factory service manual is not recommended. Make sure you have a manual for your machine prior to starting work. The manual is the only place you’ll find service limits, torque specs, and other key data.
- Clean Machine – Take the time to thoroughly clean the machine before opening up the engine, especially if you will be servicing the top-end without removing the engine from the machine.
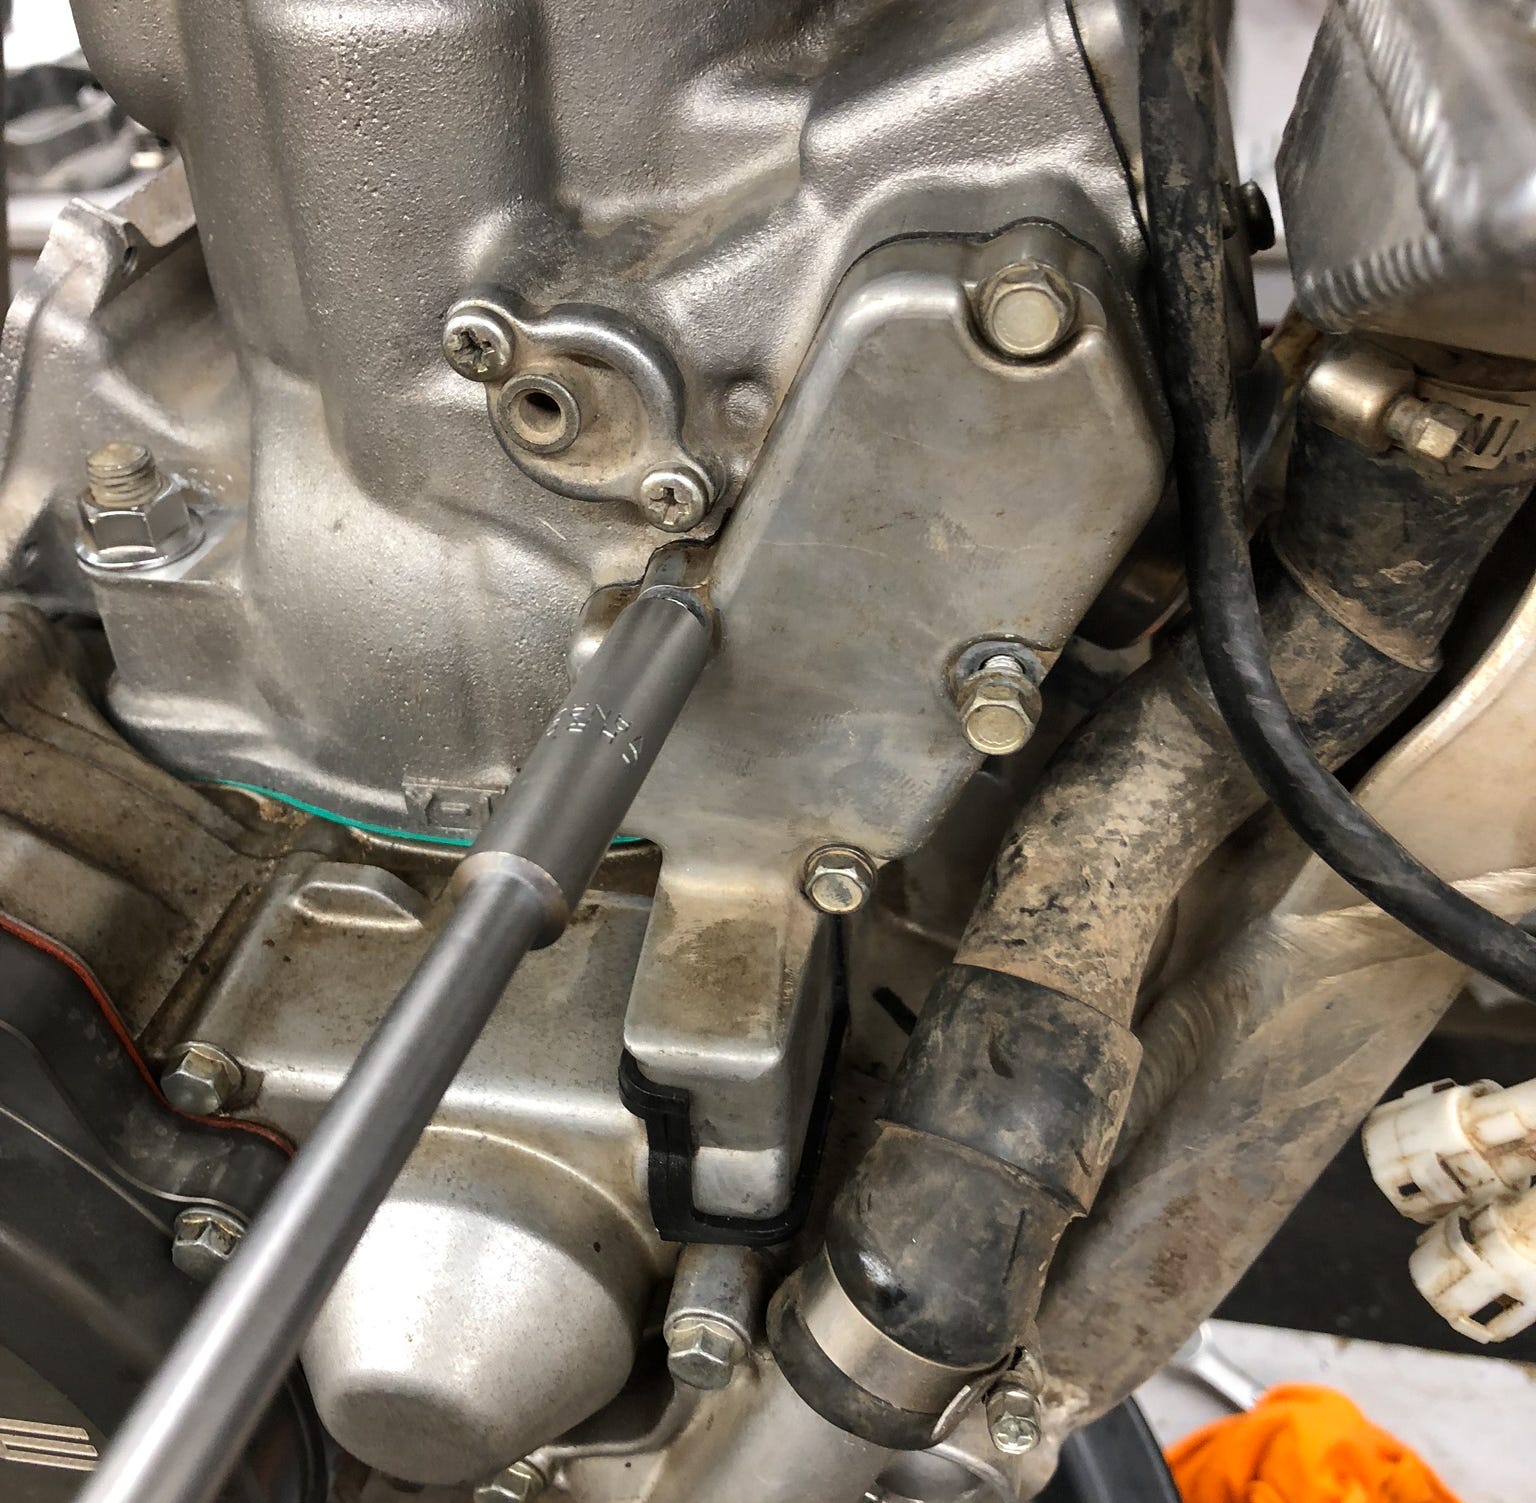
- It doesn’t have to be spotless, but cleaning off excessive dirt and mud can make it a lot easier to keep debris out of citical components during your rebuild.
Disassembly
Perform disassembly steps methodically and be cognizant of the fact that the bottom end of the engine will be exposed to the elements. Take every precaution to ensure dirt, debris, and hardware does not get into the bottom end. Bearings and other running surfaces have an incredibly low tolerance for dirt, no matter how little.
- Protect the bottom end – Once the cylinder has been removed, wrap a clean, lint-free rag around the top of the crankcase.
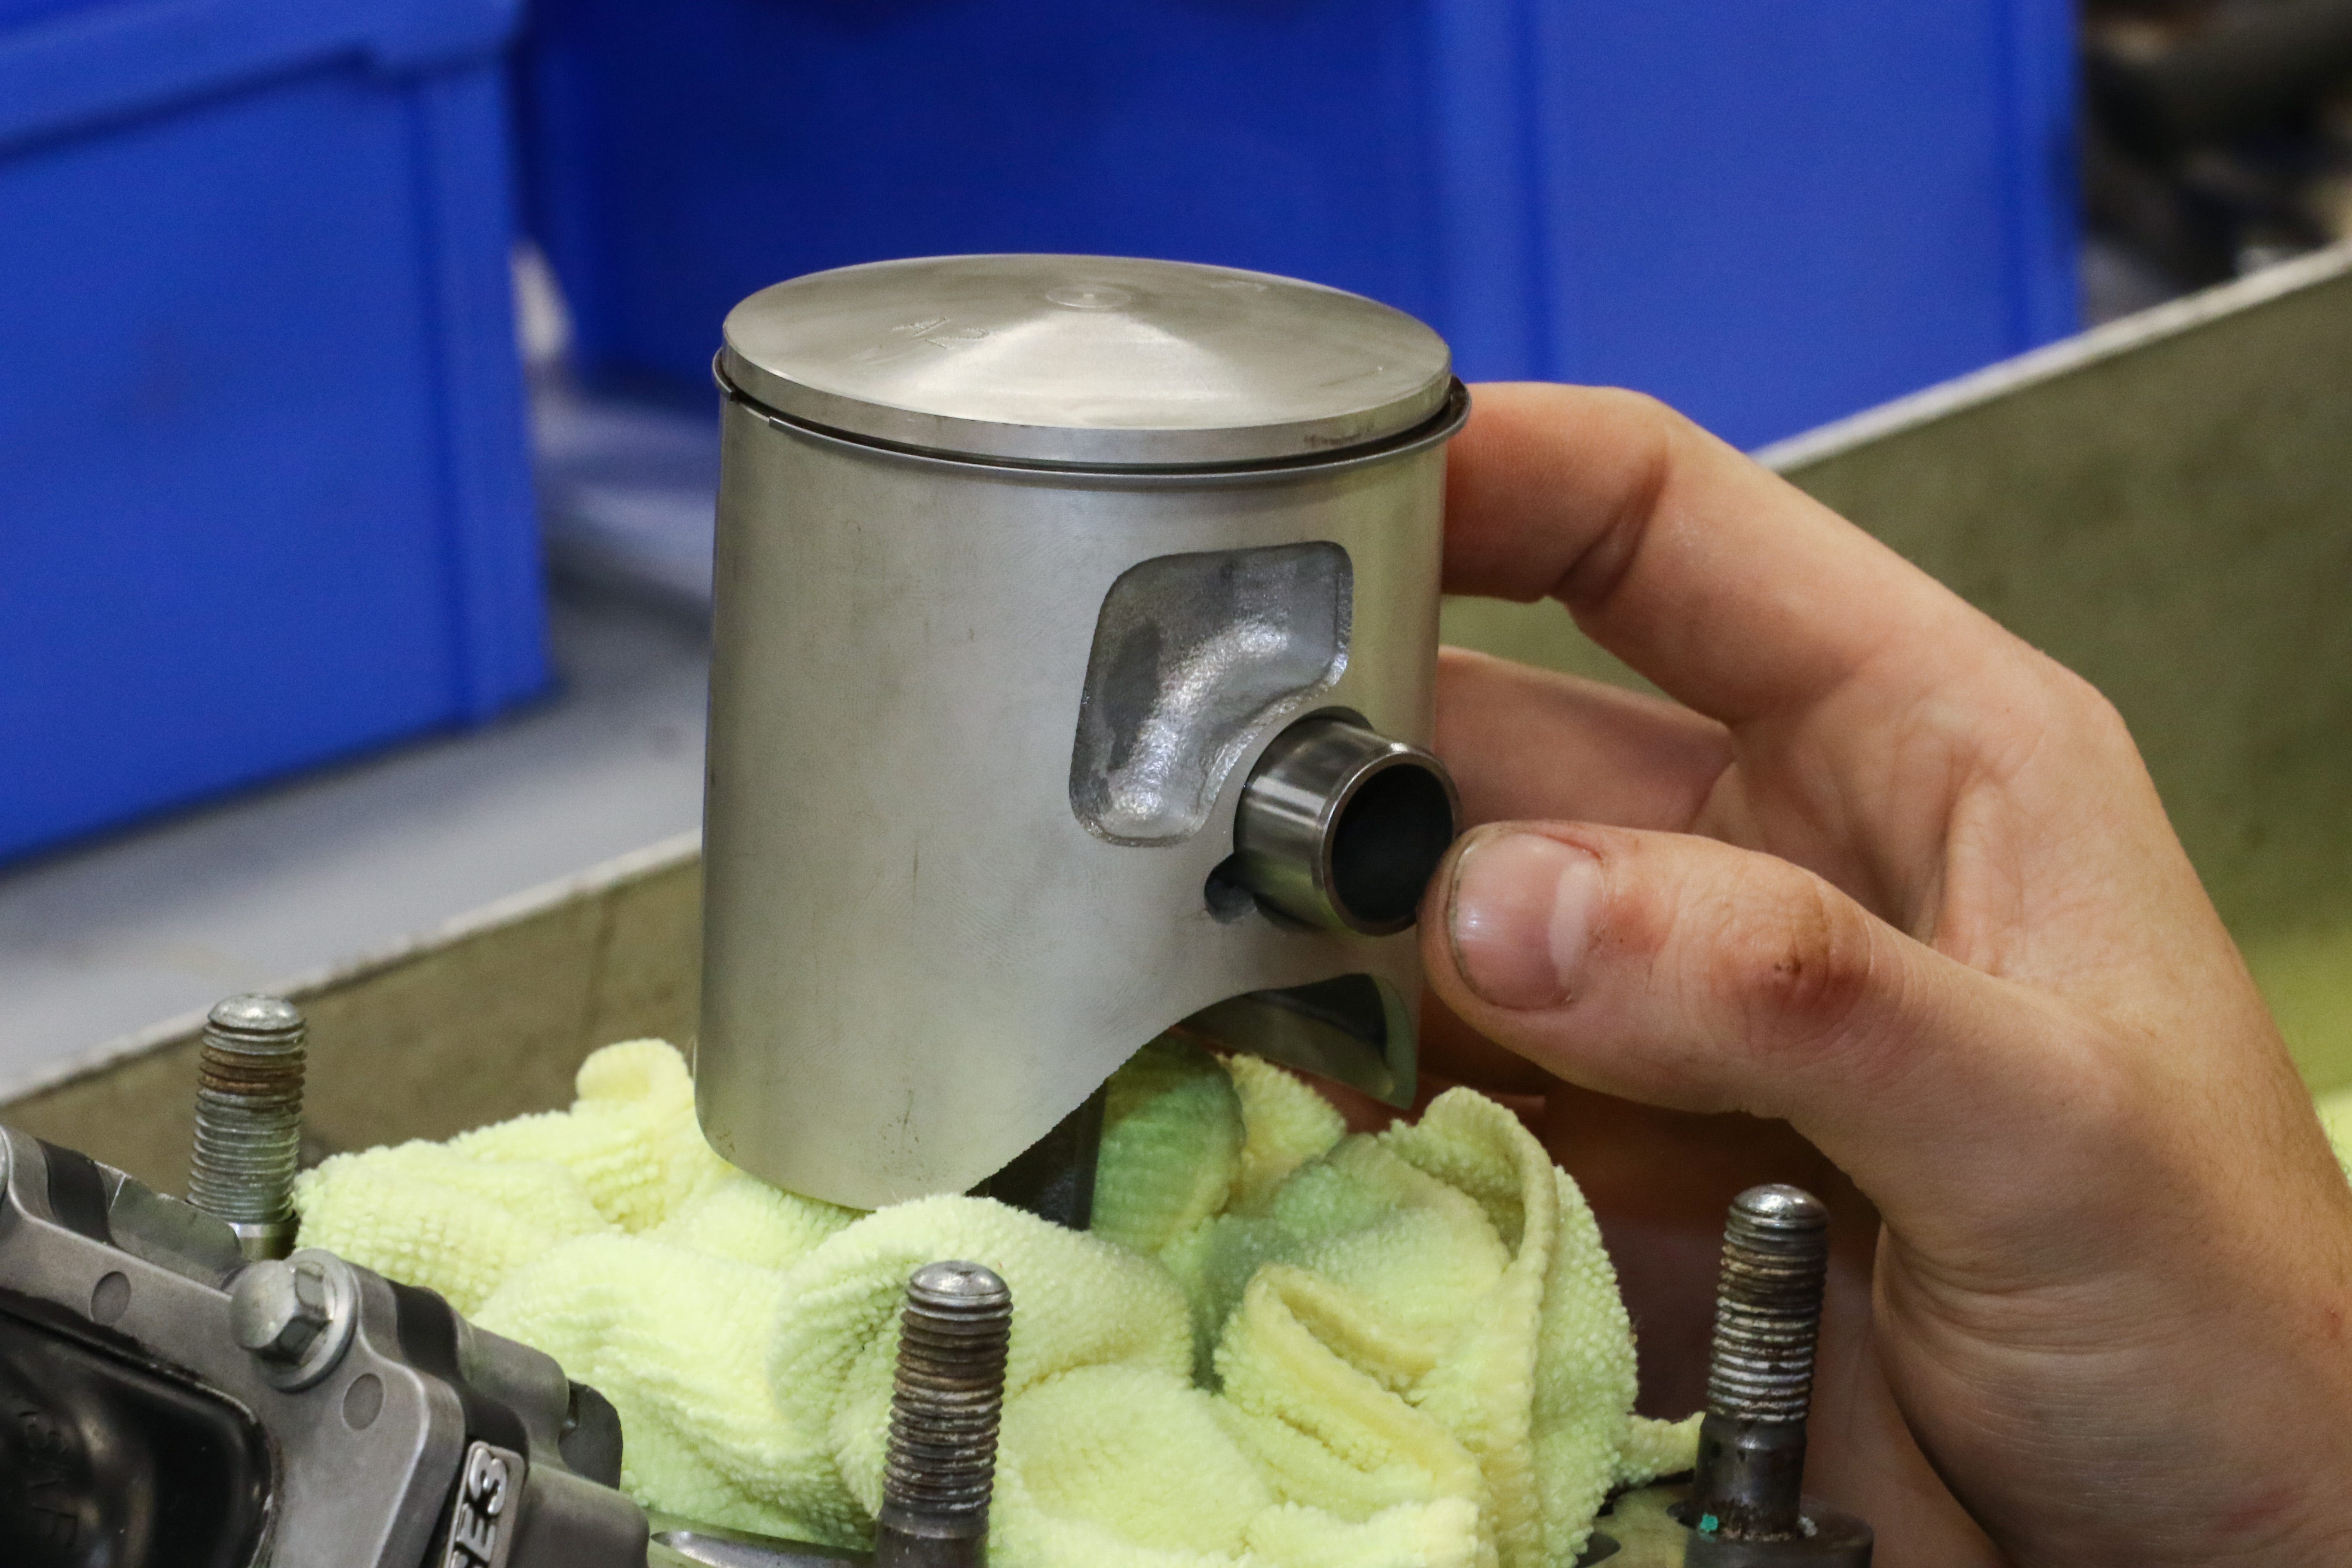
Piston removal – Easy piston circlip removal can be accomplished by using a pick and needle nose pliers. Insert the pick into the dimple in the piston and behind the circlip, then use it as a lever and pry the circlip part way out. Once part way out, grab the circlip with needle nose pliers. During this process, be careful not to scratch or mar the wrist pin bore, as this will make removing the wrist pin much more difficult.
The ease of pin removal will be largely dependent on the engine design and condition of the bore. If the pin can be removed by hand, great, if not, light tapping while supporting the rod is permissible. Otherwise, a pin puller should be utilized, which can be bought or made. In its simplest form, this can consist of an appropriately sized bolt, nut, and socket. Once the wrist pin has been removed, the piston can be removed from the rod.
- Power Valve Disassembly – Prior to taking the power valve system apart, spend some time reviewing the procedure in your service manual. For additional insight into how the components interact, review the exploded views in the service manual and look at part microfiches which can be found online.
When removing the power valve system, consider laying the components out on a clean sheet of paper in an orientation that correlates to how they are installed in the engine. This is a relatively simple thing to do that will help you remember how they are installed later. When it comes to cleaning the components, clean them one at a time or in small batches so that they don’t get mixed up.
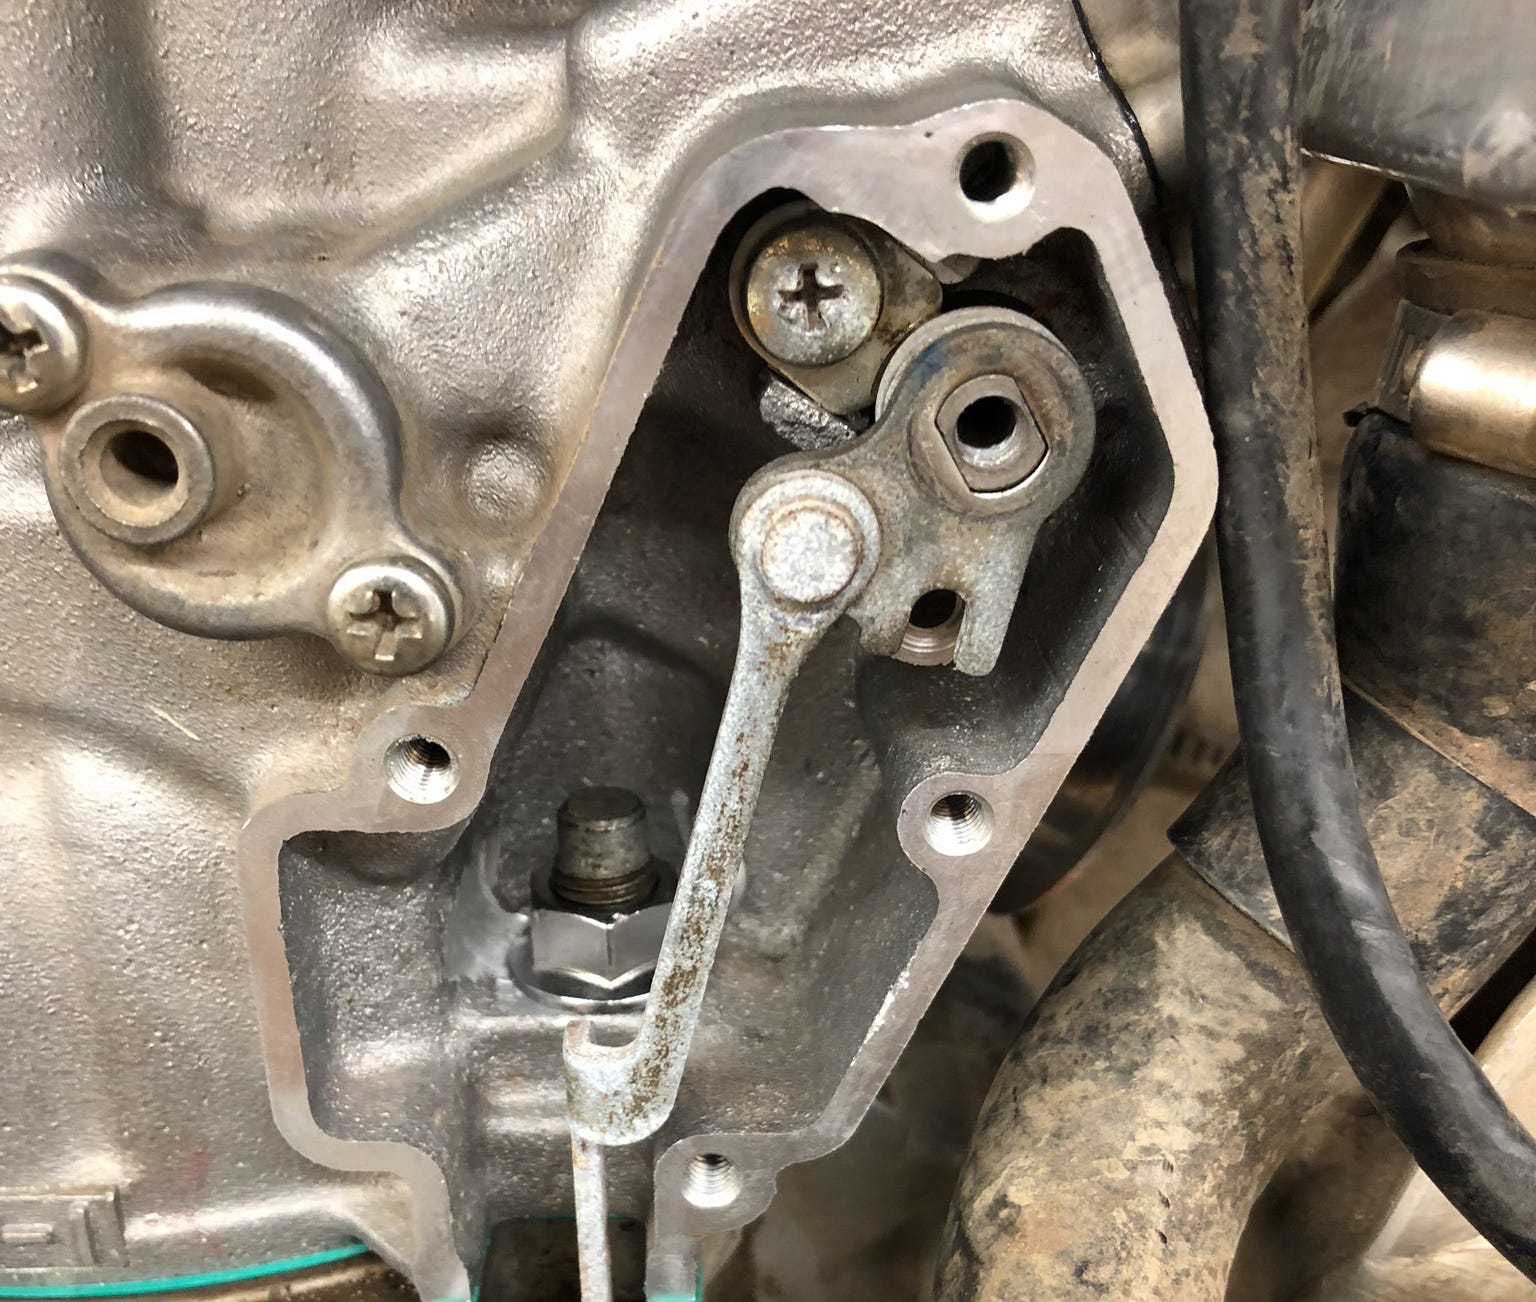
Take note of how your powervalve is assembled and operates before taking the components off for cleaning.
Inspection
Meticulously check all the top-end parts to ensure they are in good working condition. Rotate the crankshaft by hand and feel for smoothness in the crank and rod bearings. Review the items below for often overlooked inspection opportunities.
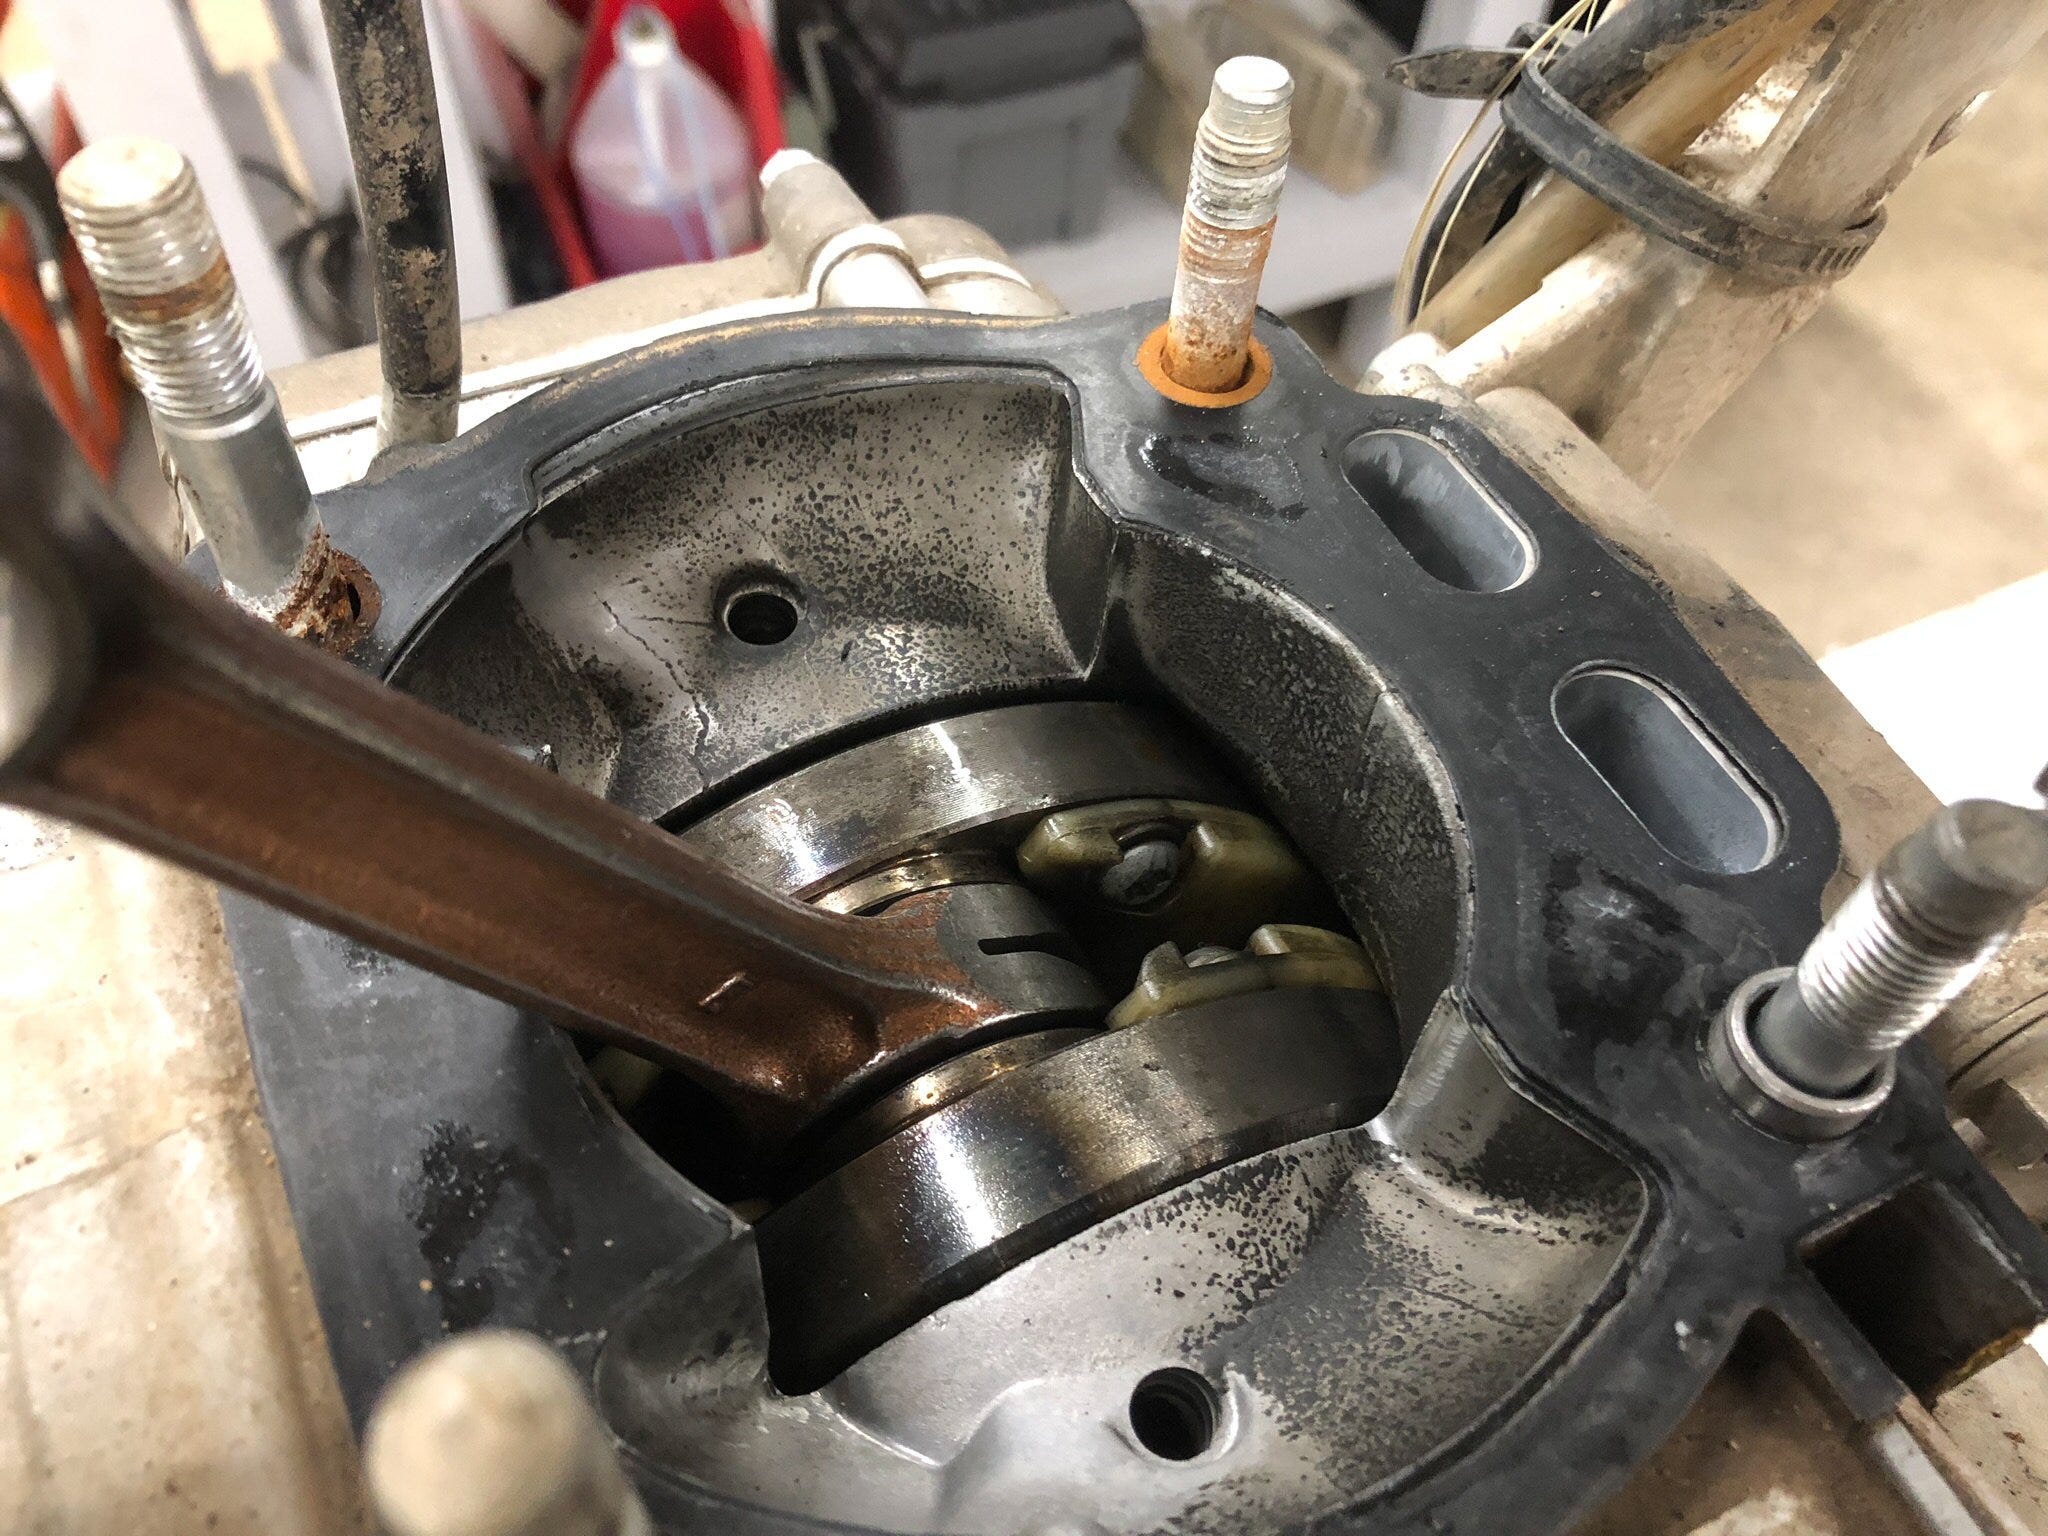
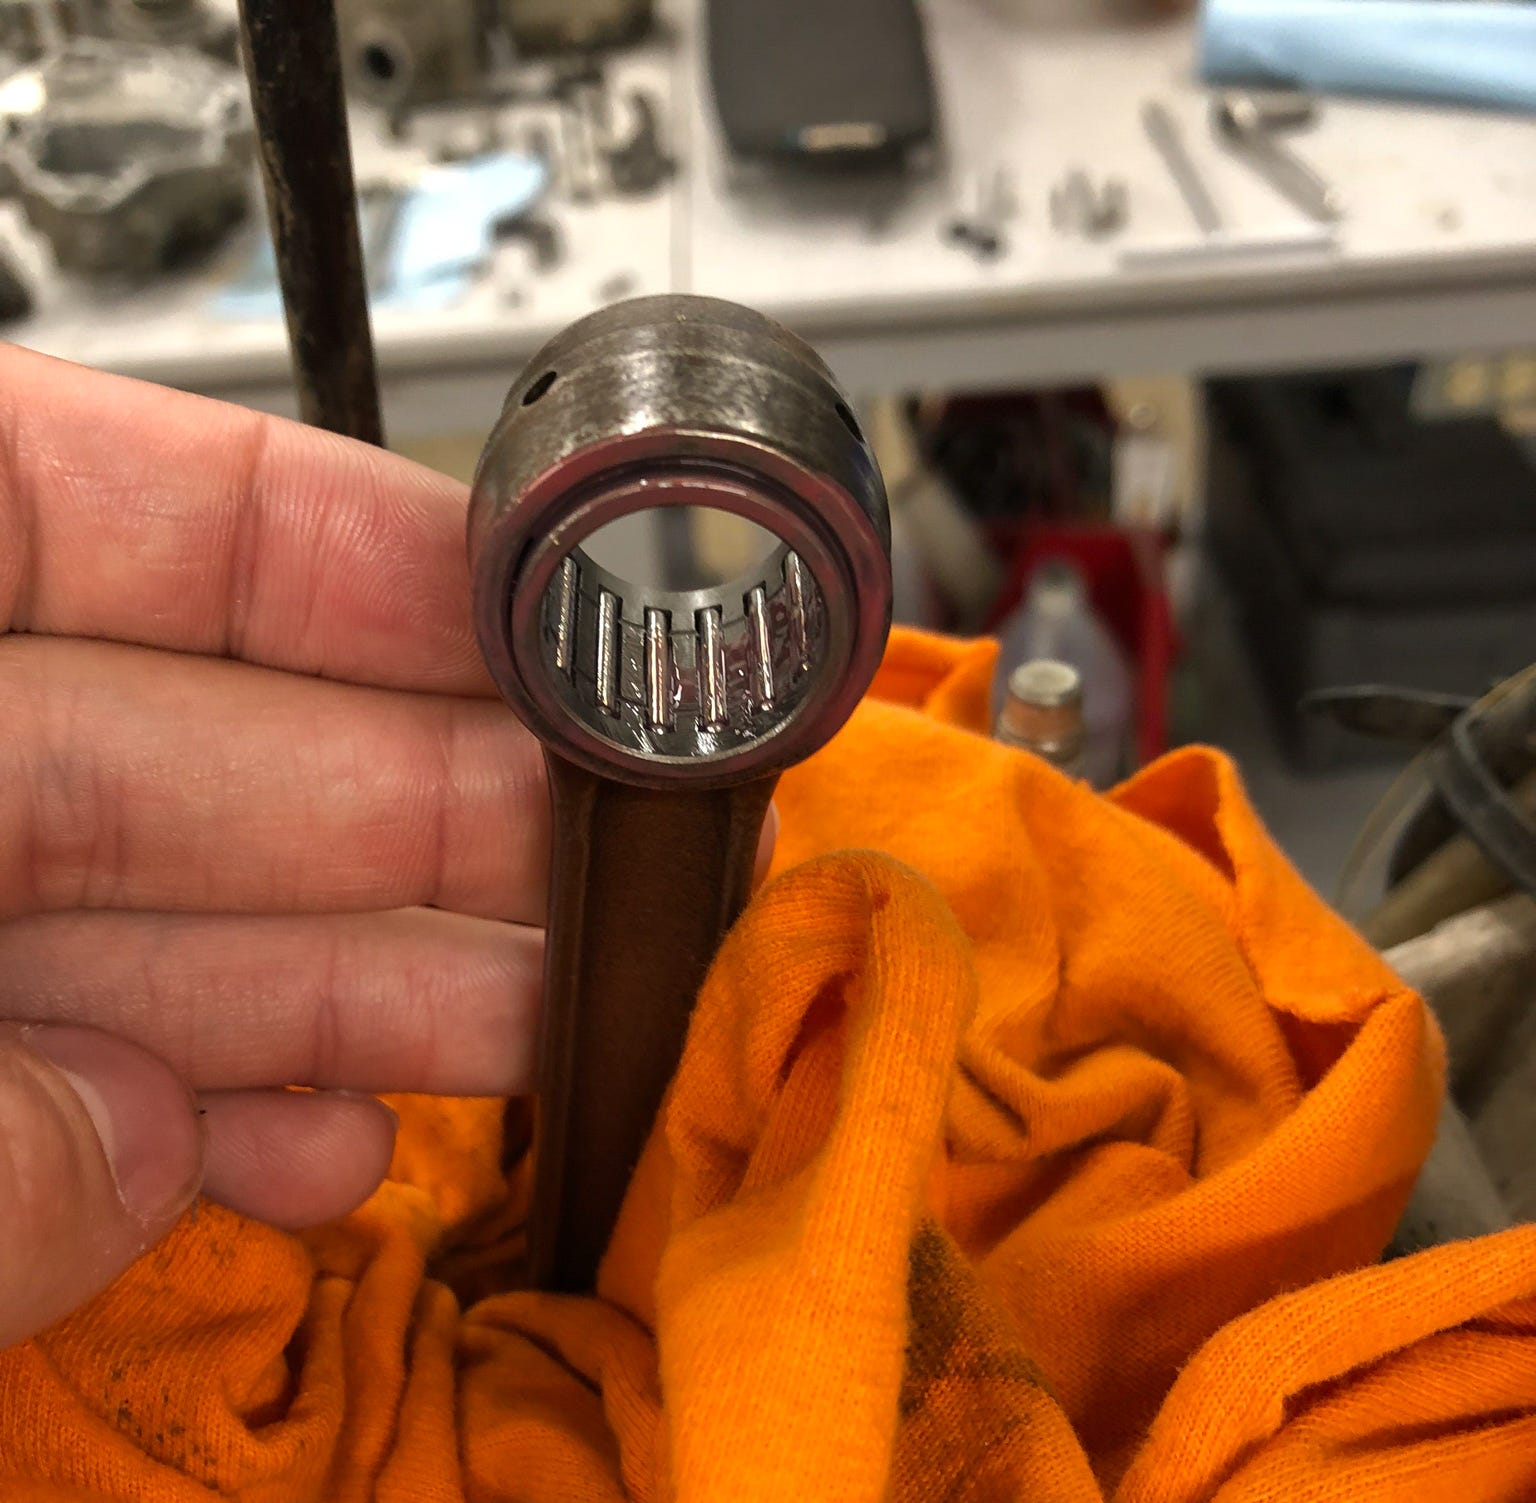
While the top end is apart, inspect your connecting rod and crankshaft to ensure everything is in good operating order.
- Reed Valve – Don’t forget to check the condition of the reed valve petals, cage, and any stopper plates. Most service manuals will detail the acceptable clearance between the petal tips and cage as well as the stopper plate height. Ensure any rubber coatings on the reed cage are in good condition.
- Intake Manifold – Check the intake manifold for cracks. Cracks are more common on older engines, and if they propagate all the way through the manifold, can lead to air leaks.
- Exhaust Flange – Check the condition of the exhaust flange and ensure that it is not excessively worn. An excessively worn flange will make exhaust gas sealing difficult, hamper performance, and leak the infamous spooge.
- Power Valve Components – Take a moment to review the condition of all the power valve components. Significant wear can occur over time and lead to performance losses.
- Rod Small End – Check the small end rod bore for surface defects such as pitting, scratches, and marring. Any severe defects in the bore will necessitate rod replacement.
New Parts
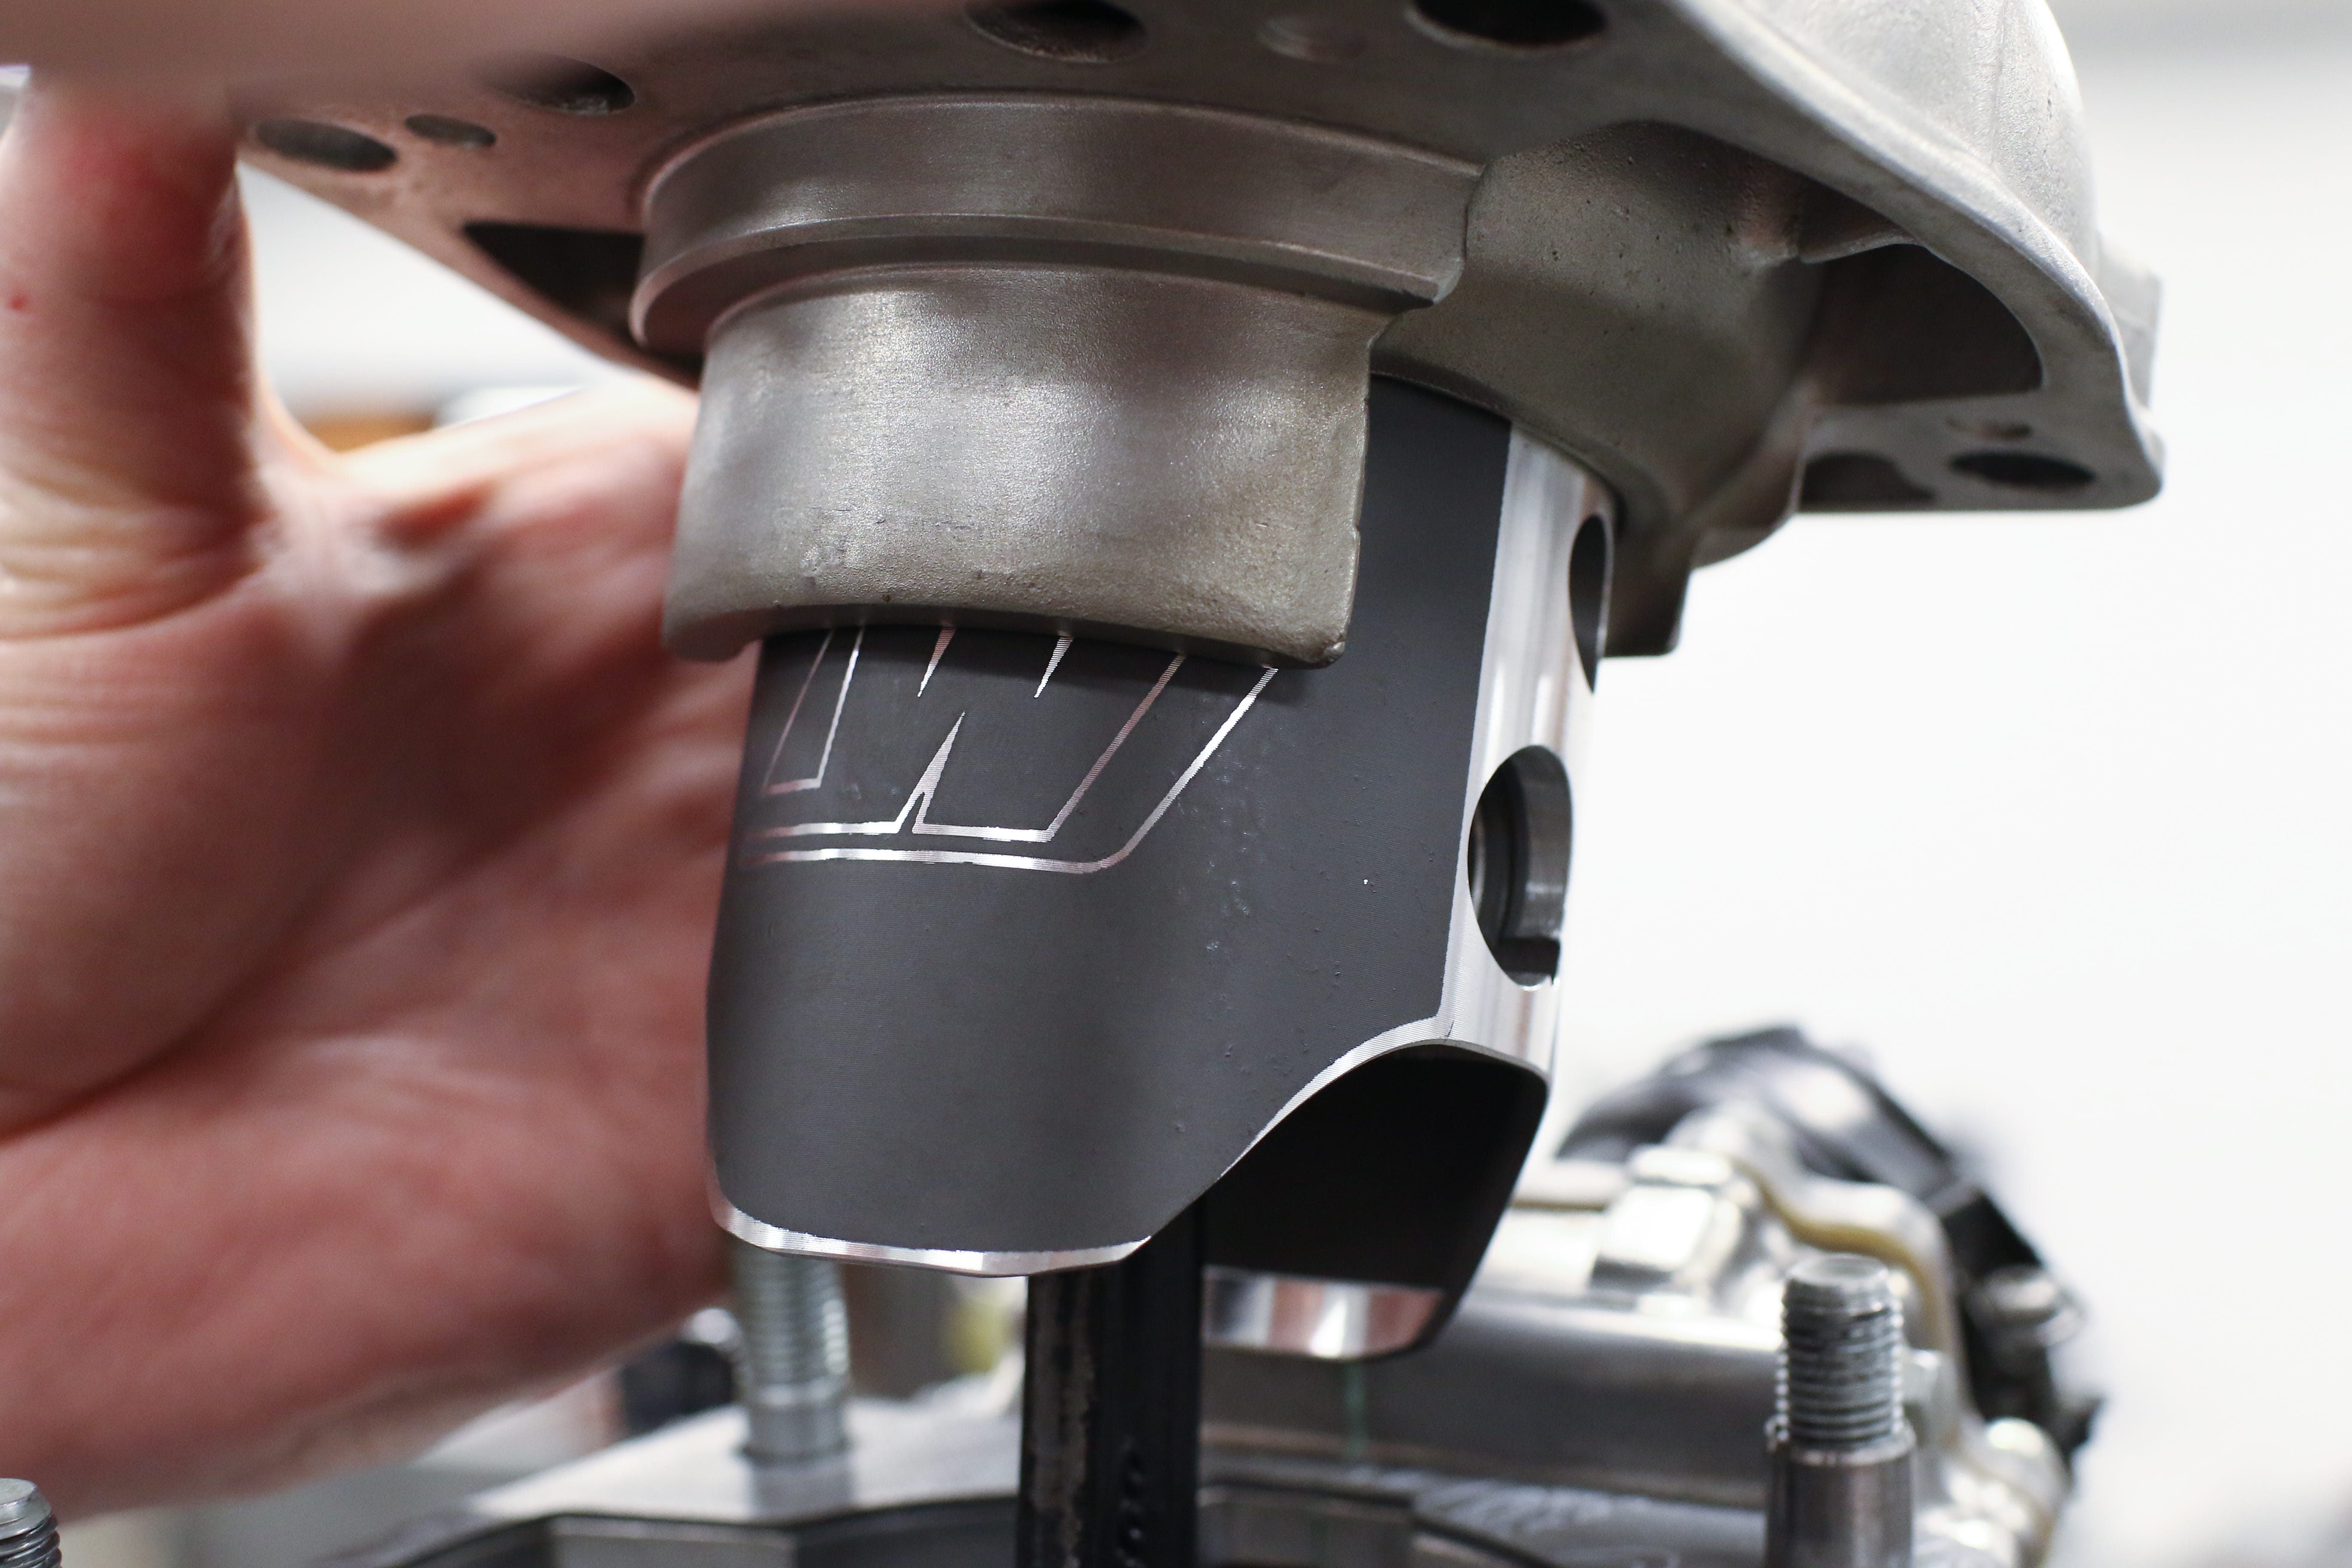
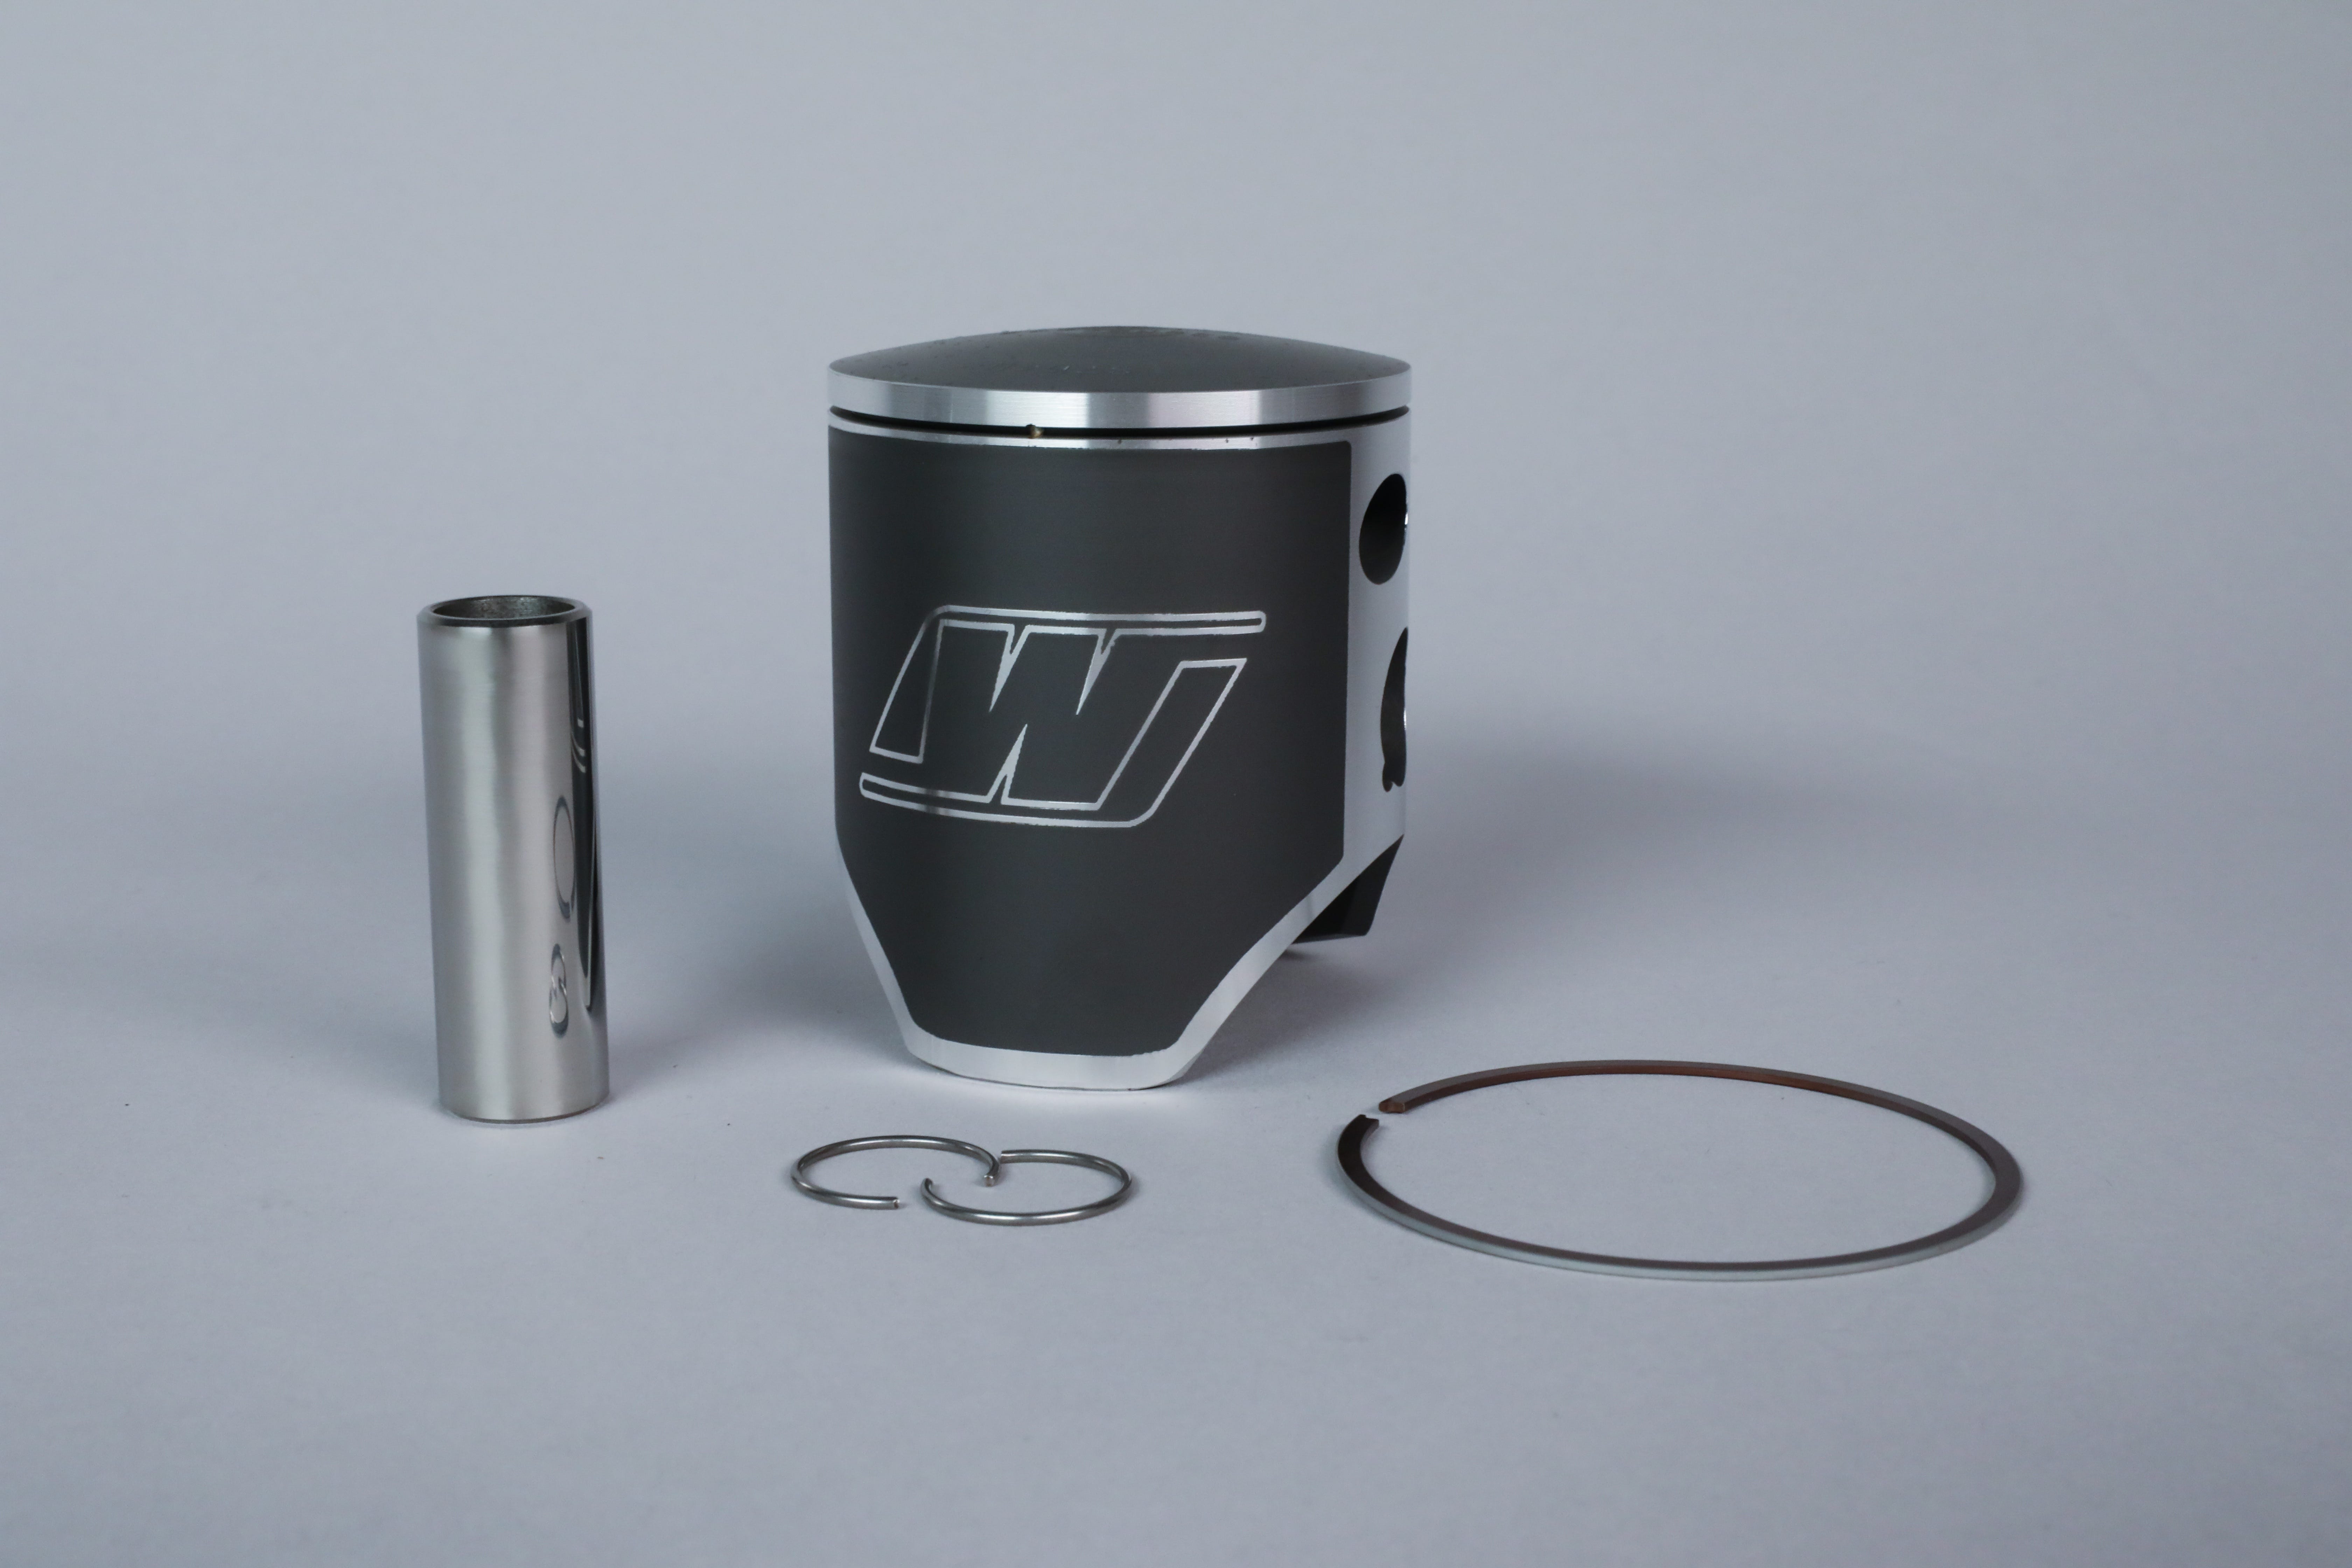
Once you’ve disassembled the engine and have a full picture of any issues, make a list of everything you’ll need to replace. At the very least, you will likely be replacing the piston and top-end gaskets. Forged piston kits are available from Wiseco for a wide range of applications, and include the piston, ring(s), wrist pin, and circlips. Many applications can also be purchased with a complete top-end gasket kit from Wiseco. Wiseco pistons are available with features and pricing ranging from reliable replacement to race-focused.
Measurements
The number of measurements that should be taken throughout the top-end rebuild will be discretionary. At Wiseco, we strive for excellence and err on the side of caution when it comes to engine building, so our builds consist of numerous measurements and inspections prior to reassembly. For us, this ensures a high level of confidence and safeguards against external oversights. We recommend the same to anyone building an engine.
Below is a list of measurements that we routinely make when rebuilding a two-stroke top-end:
- Piston ring end gaps
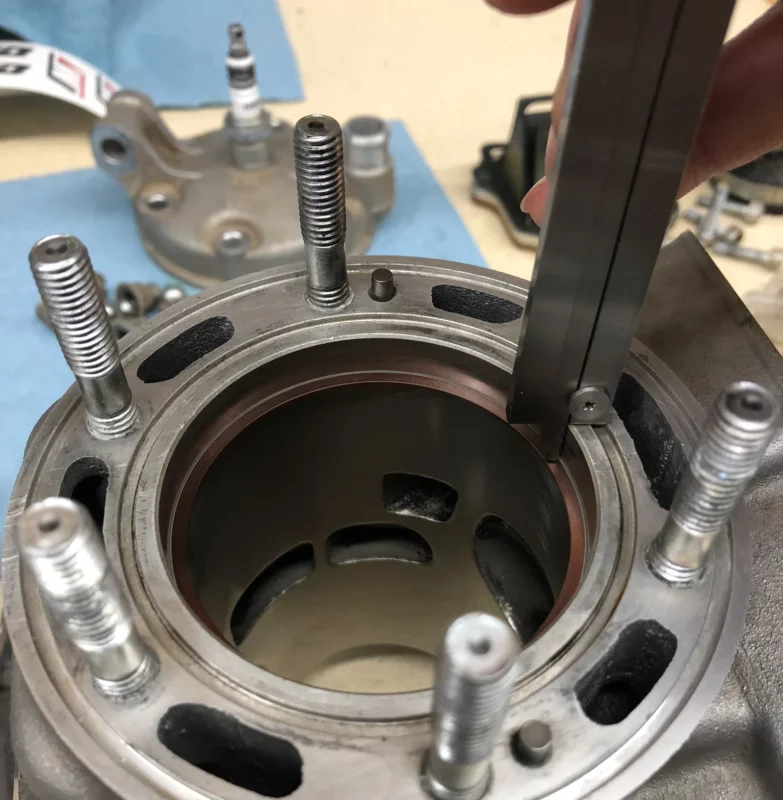
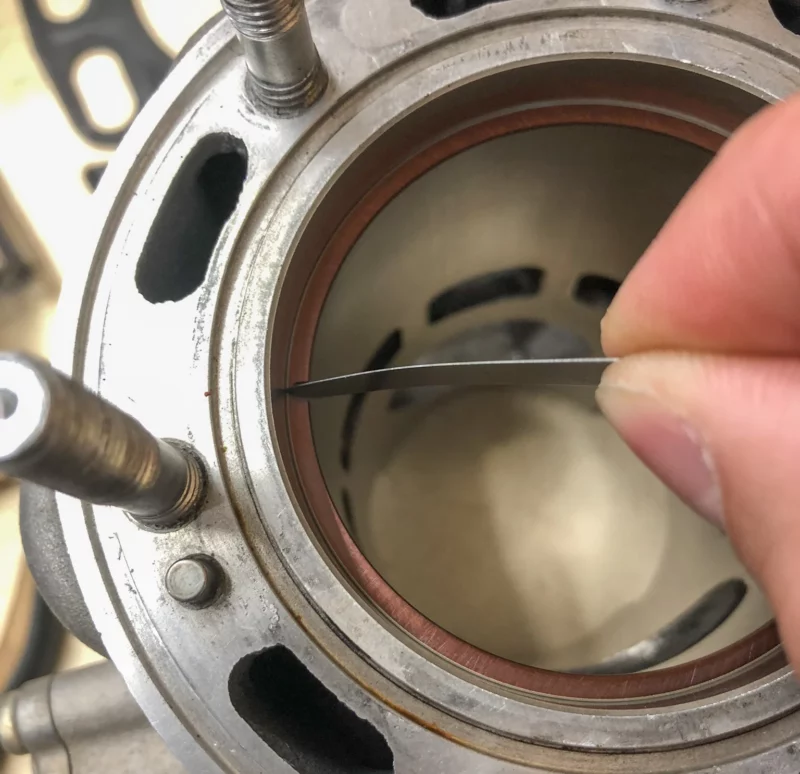
Checking ring end gap involves inserting the piston ring into the bore and using feeler gauges to determine how large of a gap there is. You should compare your measurement to the spec outlined in your owners manual or piston instructions.
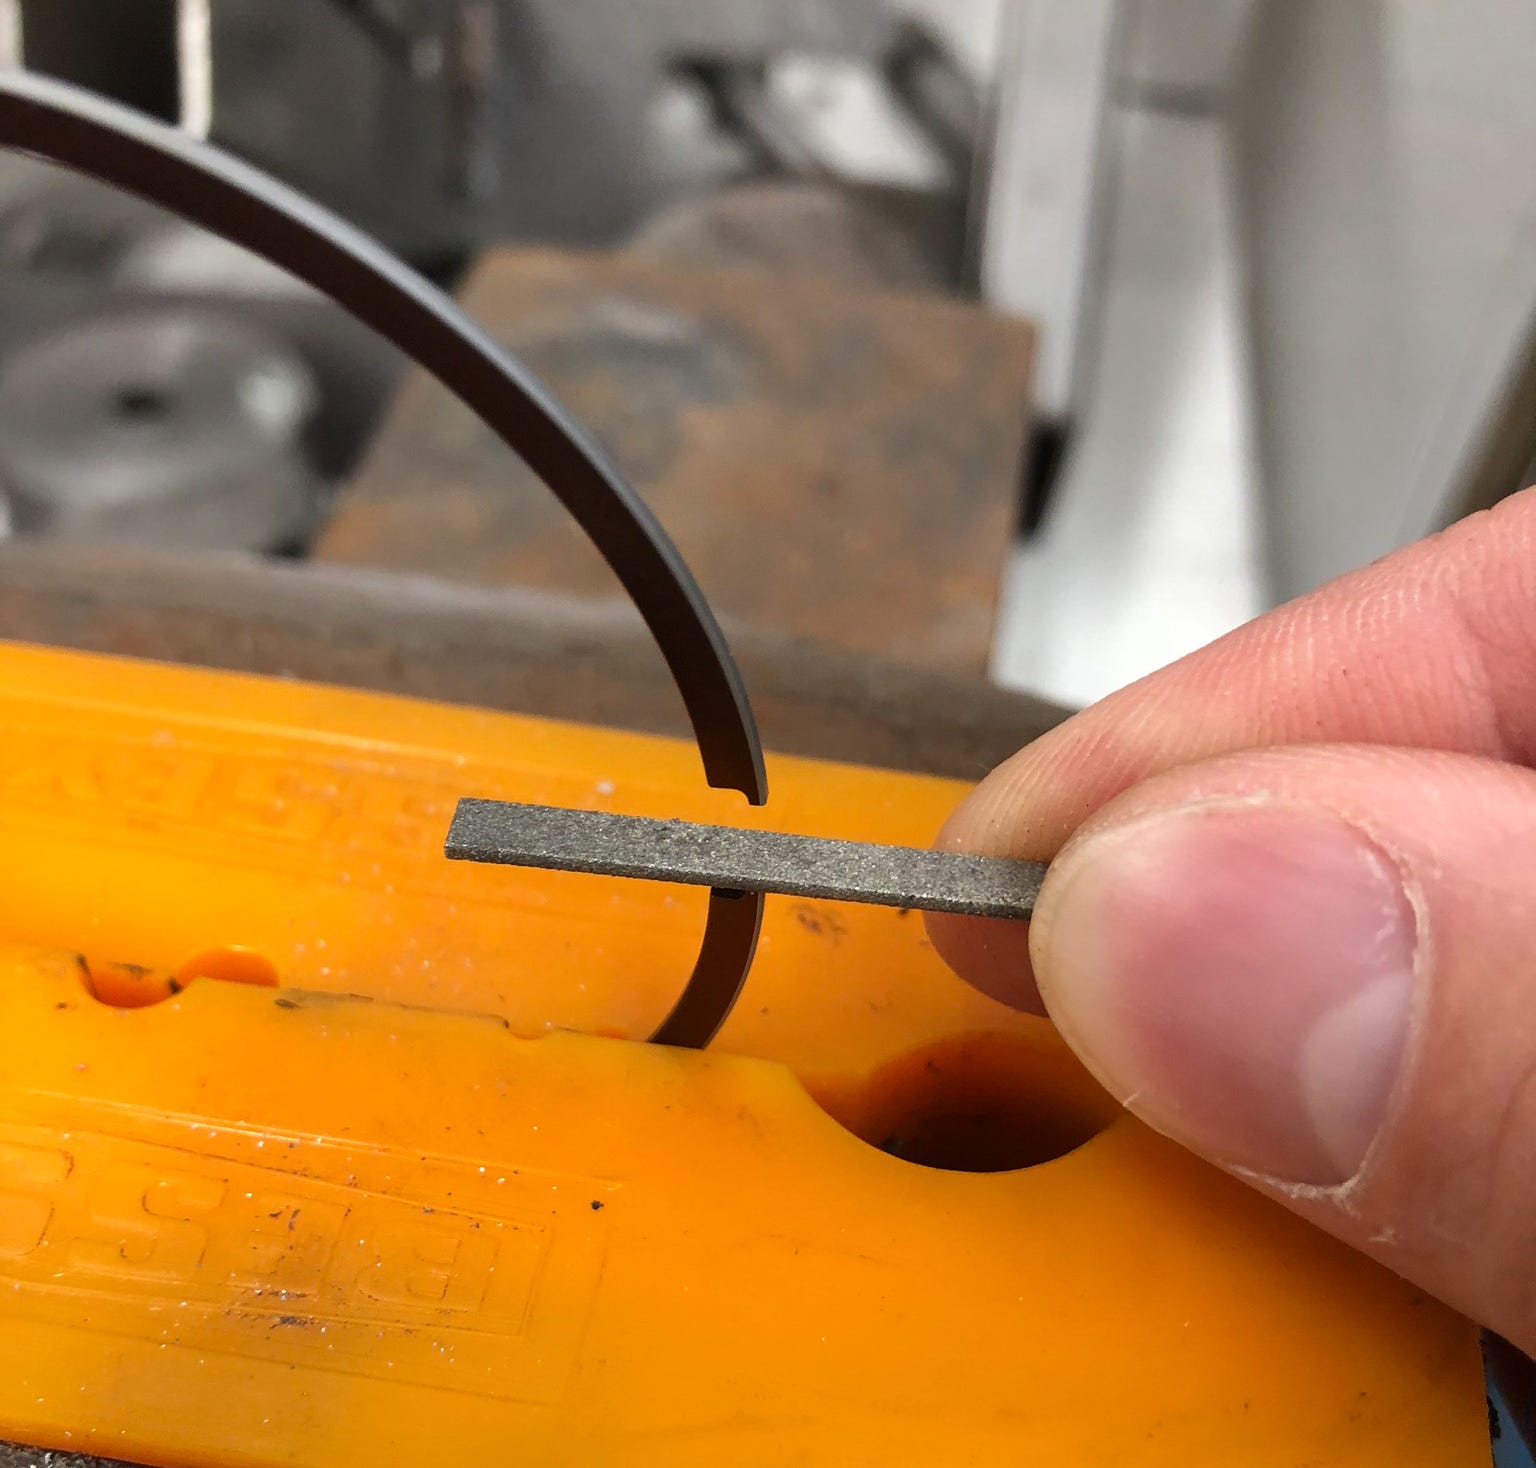
Rings commonly come pre-gapped, but some fine-tuning may be required after measuring. Ring end gaps should be filed evenly, small portions at a time to reach the desired spec.
- Piston ring to ring groove clearance
- This measurement is double-checked by Wiseco during manufacturing, but it never hurts to double-check.
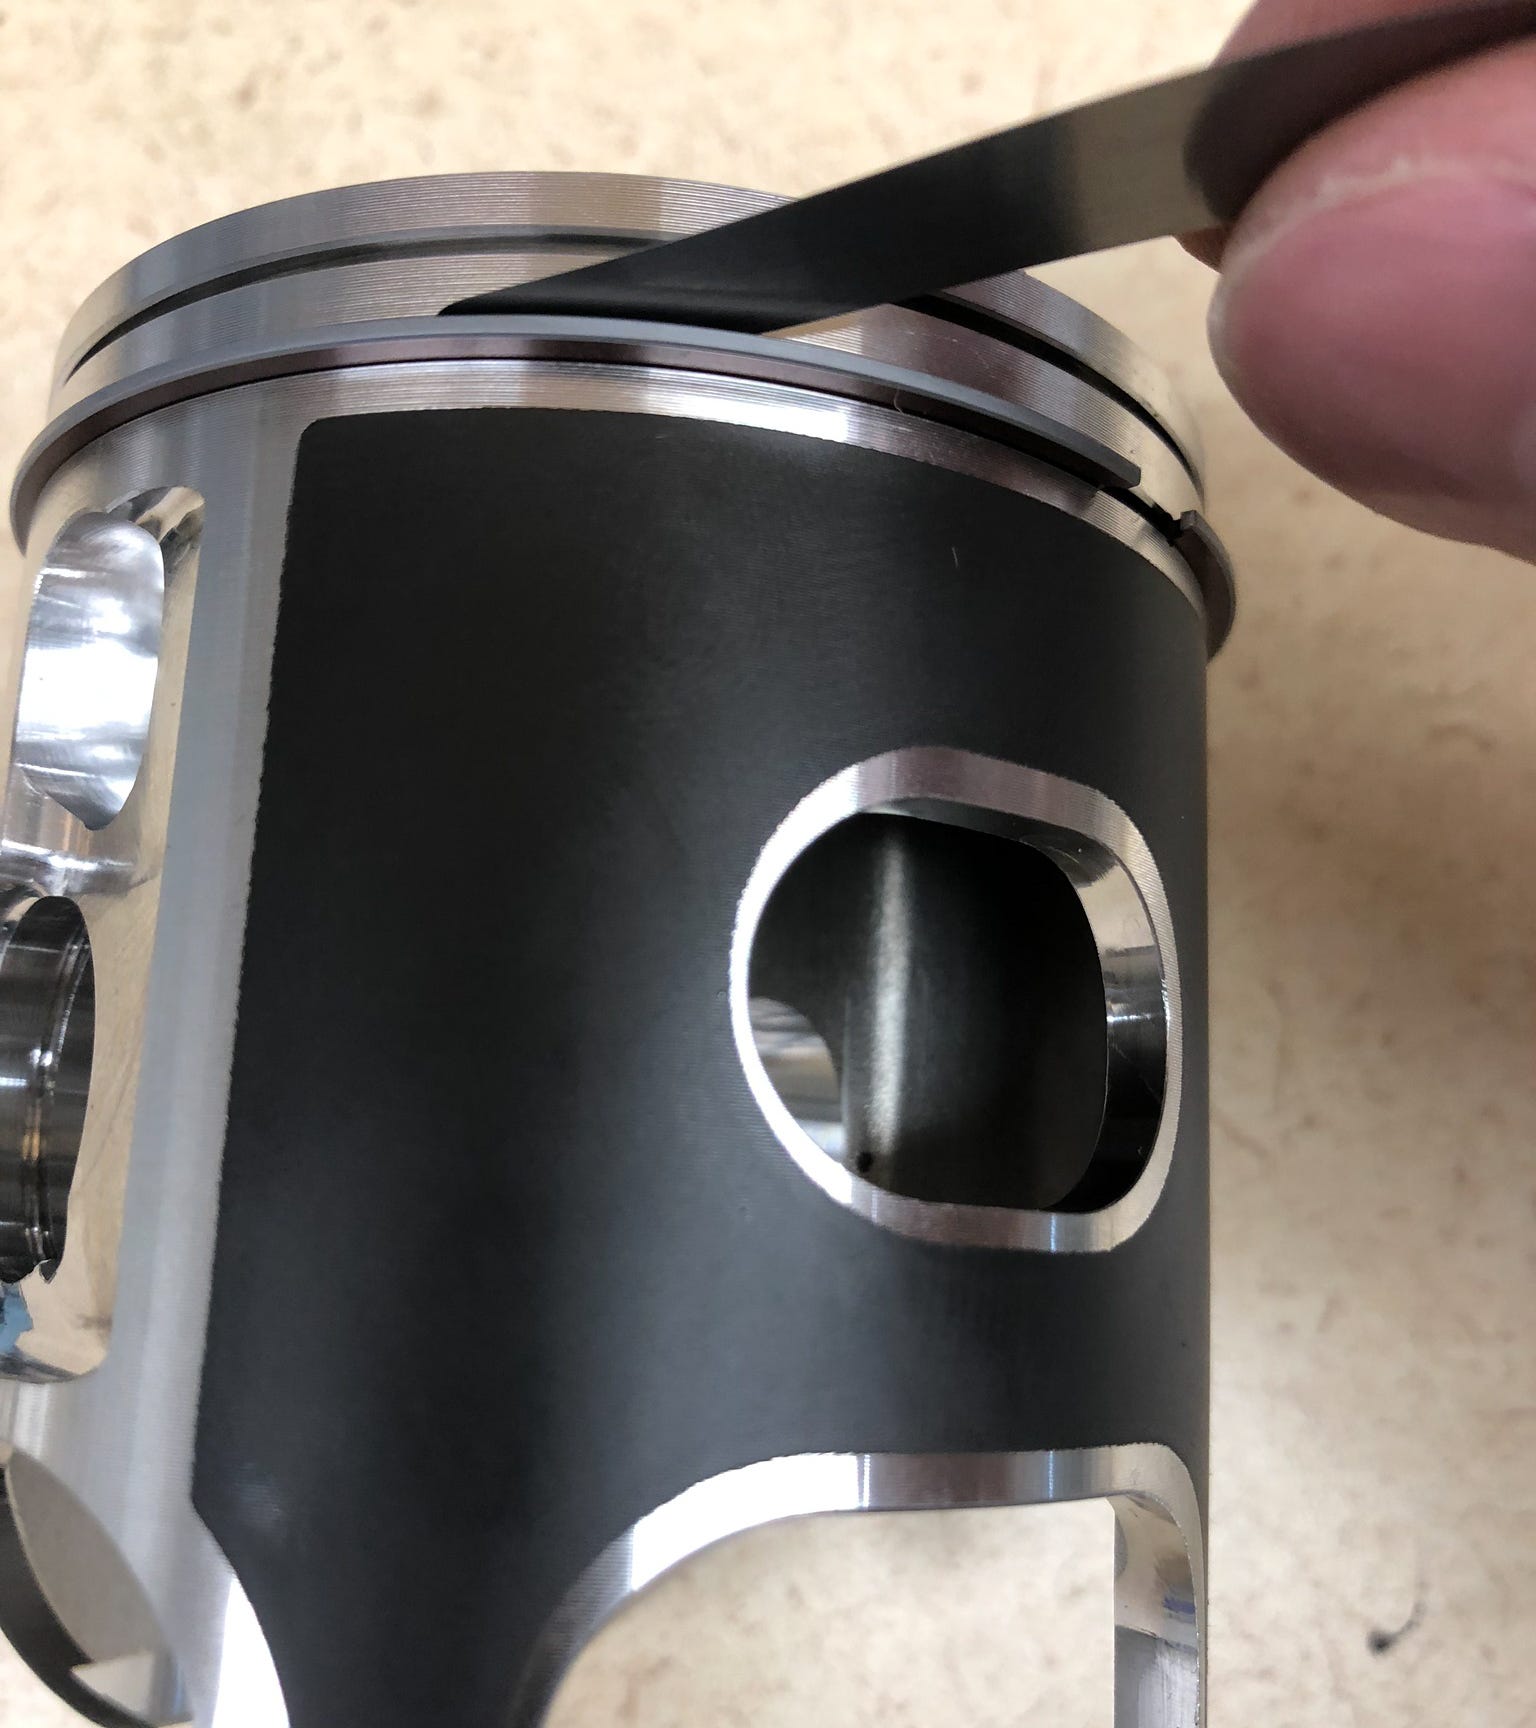
Ring to ring groove clearance should also be checked and compared to the recommended spec in your manual/piston instructions.
- Piston to cylinder clearance
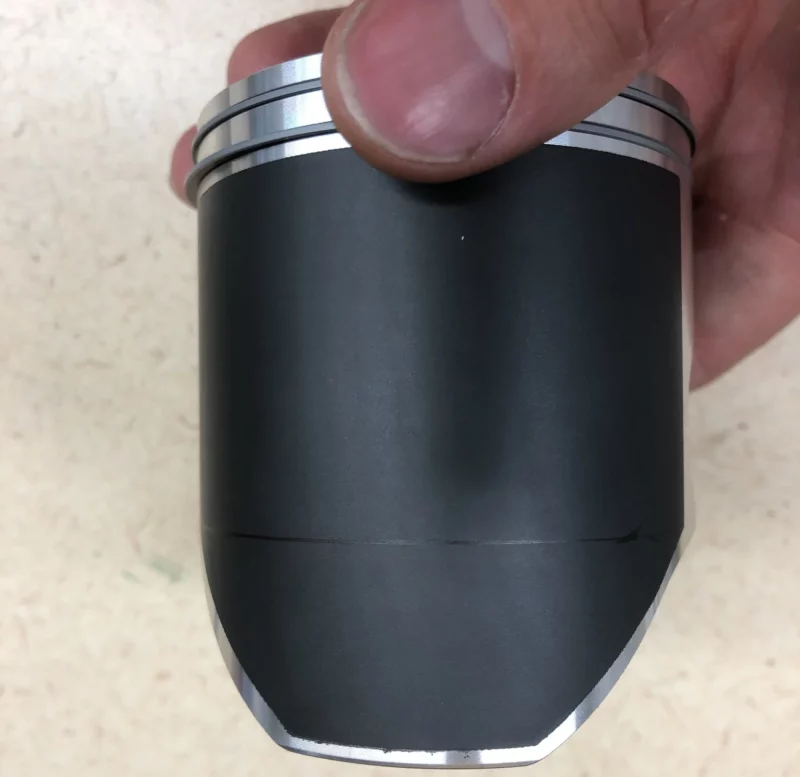
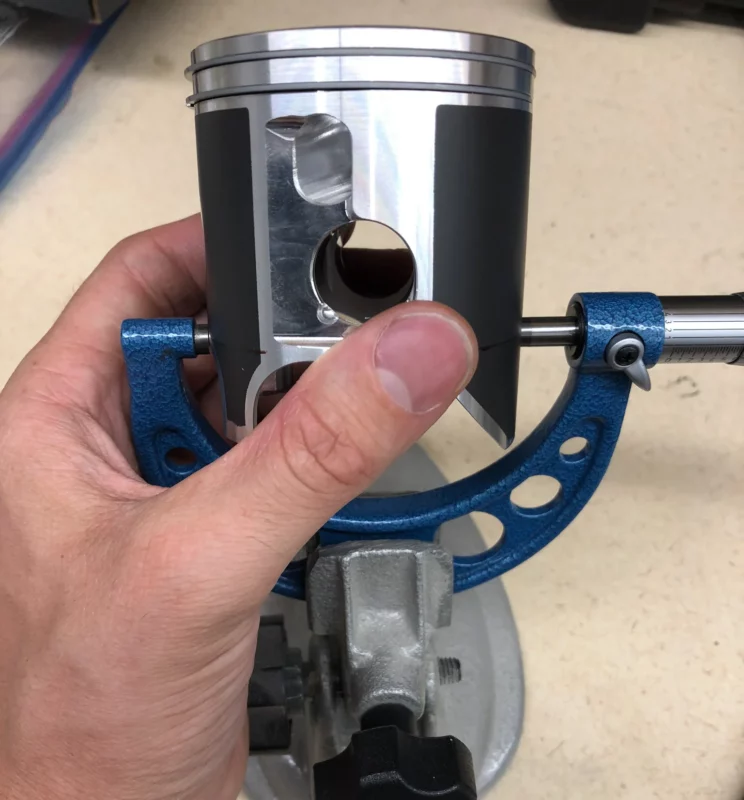
Measuring piston to cylinder wall clearance involves measuring the diameter of the piston and subtracting that from the bore diameter. Be sure to follow your piston instructions on measuring your piston at the proper gauge points.
- Wrist pin to piston clearance
- Please note, pin fit is done by Wiseco during manufacturing, but if you have the tools, it’s always a good idea to double check.
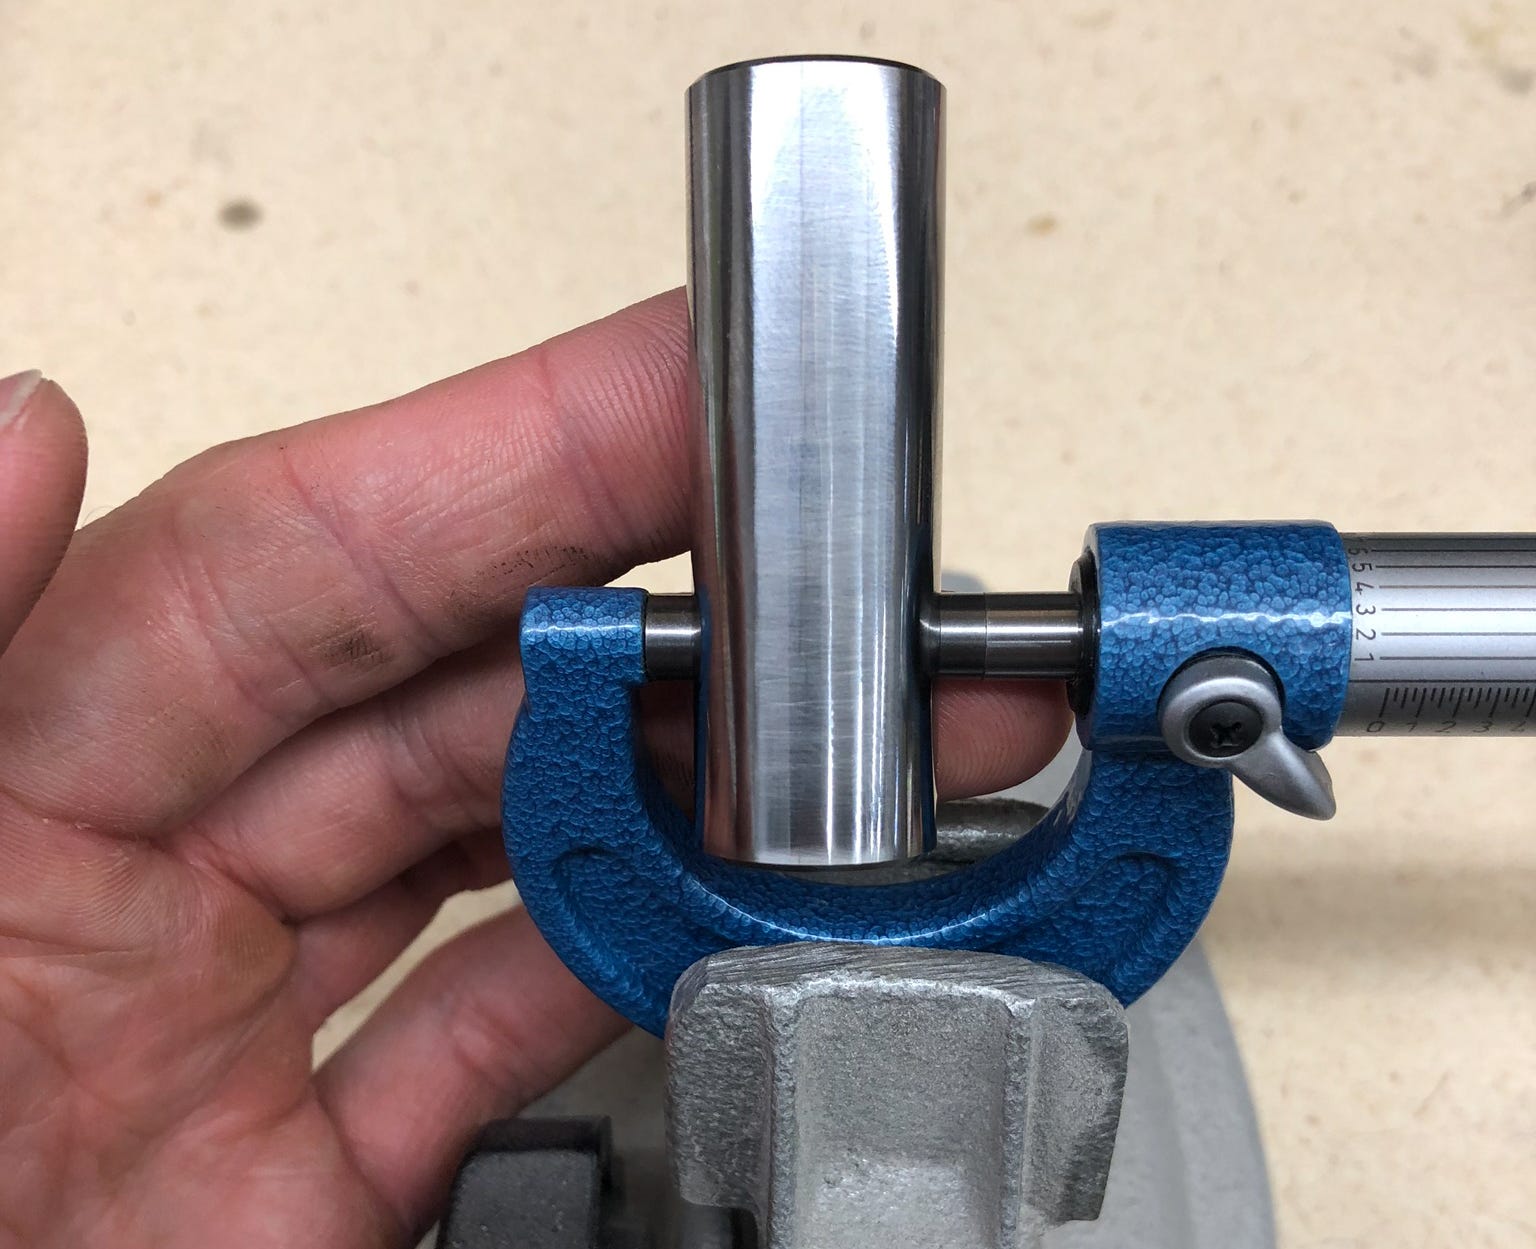
Making sure your piston has proper clearance involves measuring the wrist pin diameter and subtracting that from the pin bore diameter. This can accomplished using a bore gauge set and a micrometer.
- Rod small end diameter
- Power valve components
Out of these measurements, confirming or adjusting the ring end gaps is by far the most important, followed closely by ensuring the cylinder bore is within spec with respect to diameter, straightness, and roundness. Understandably, some measurements may be difficult for the average home builder to execute, usually due to not having the right equipment, however, a competent shop should be able to assist.
Prep Work
Before putting everything back together, take the time to prepare individual components so they aren’t overlooked or forgotten.
- Cylinder Cleaning – Once the cylinder has been deglazed or has come back from replating, it should be cleaned one final time. There is almost always leftover honing grit that will need to be removed. To effectively clean the cylinder, use warm soapy water and a bristle brush followed by automatic transmission fluid and a brush or lint-free rag. To check the cleanliness of the cylinder, rub a cotton swab around the bore and look for contaminants. Clean the bore until no contaminants are visible on the cotton swab. Any honing grit that remains in the cylinder will facilitate premature wear of the piston rings.
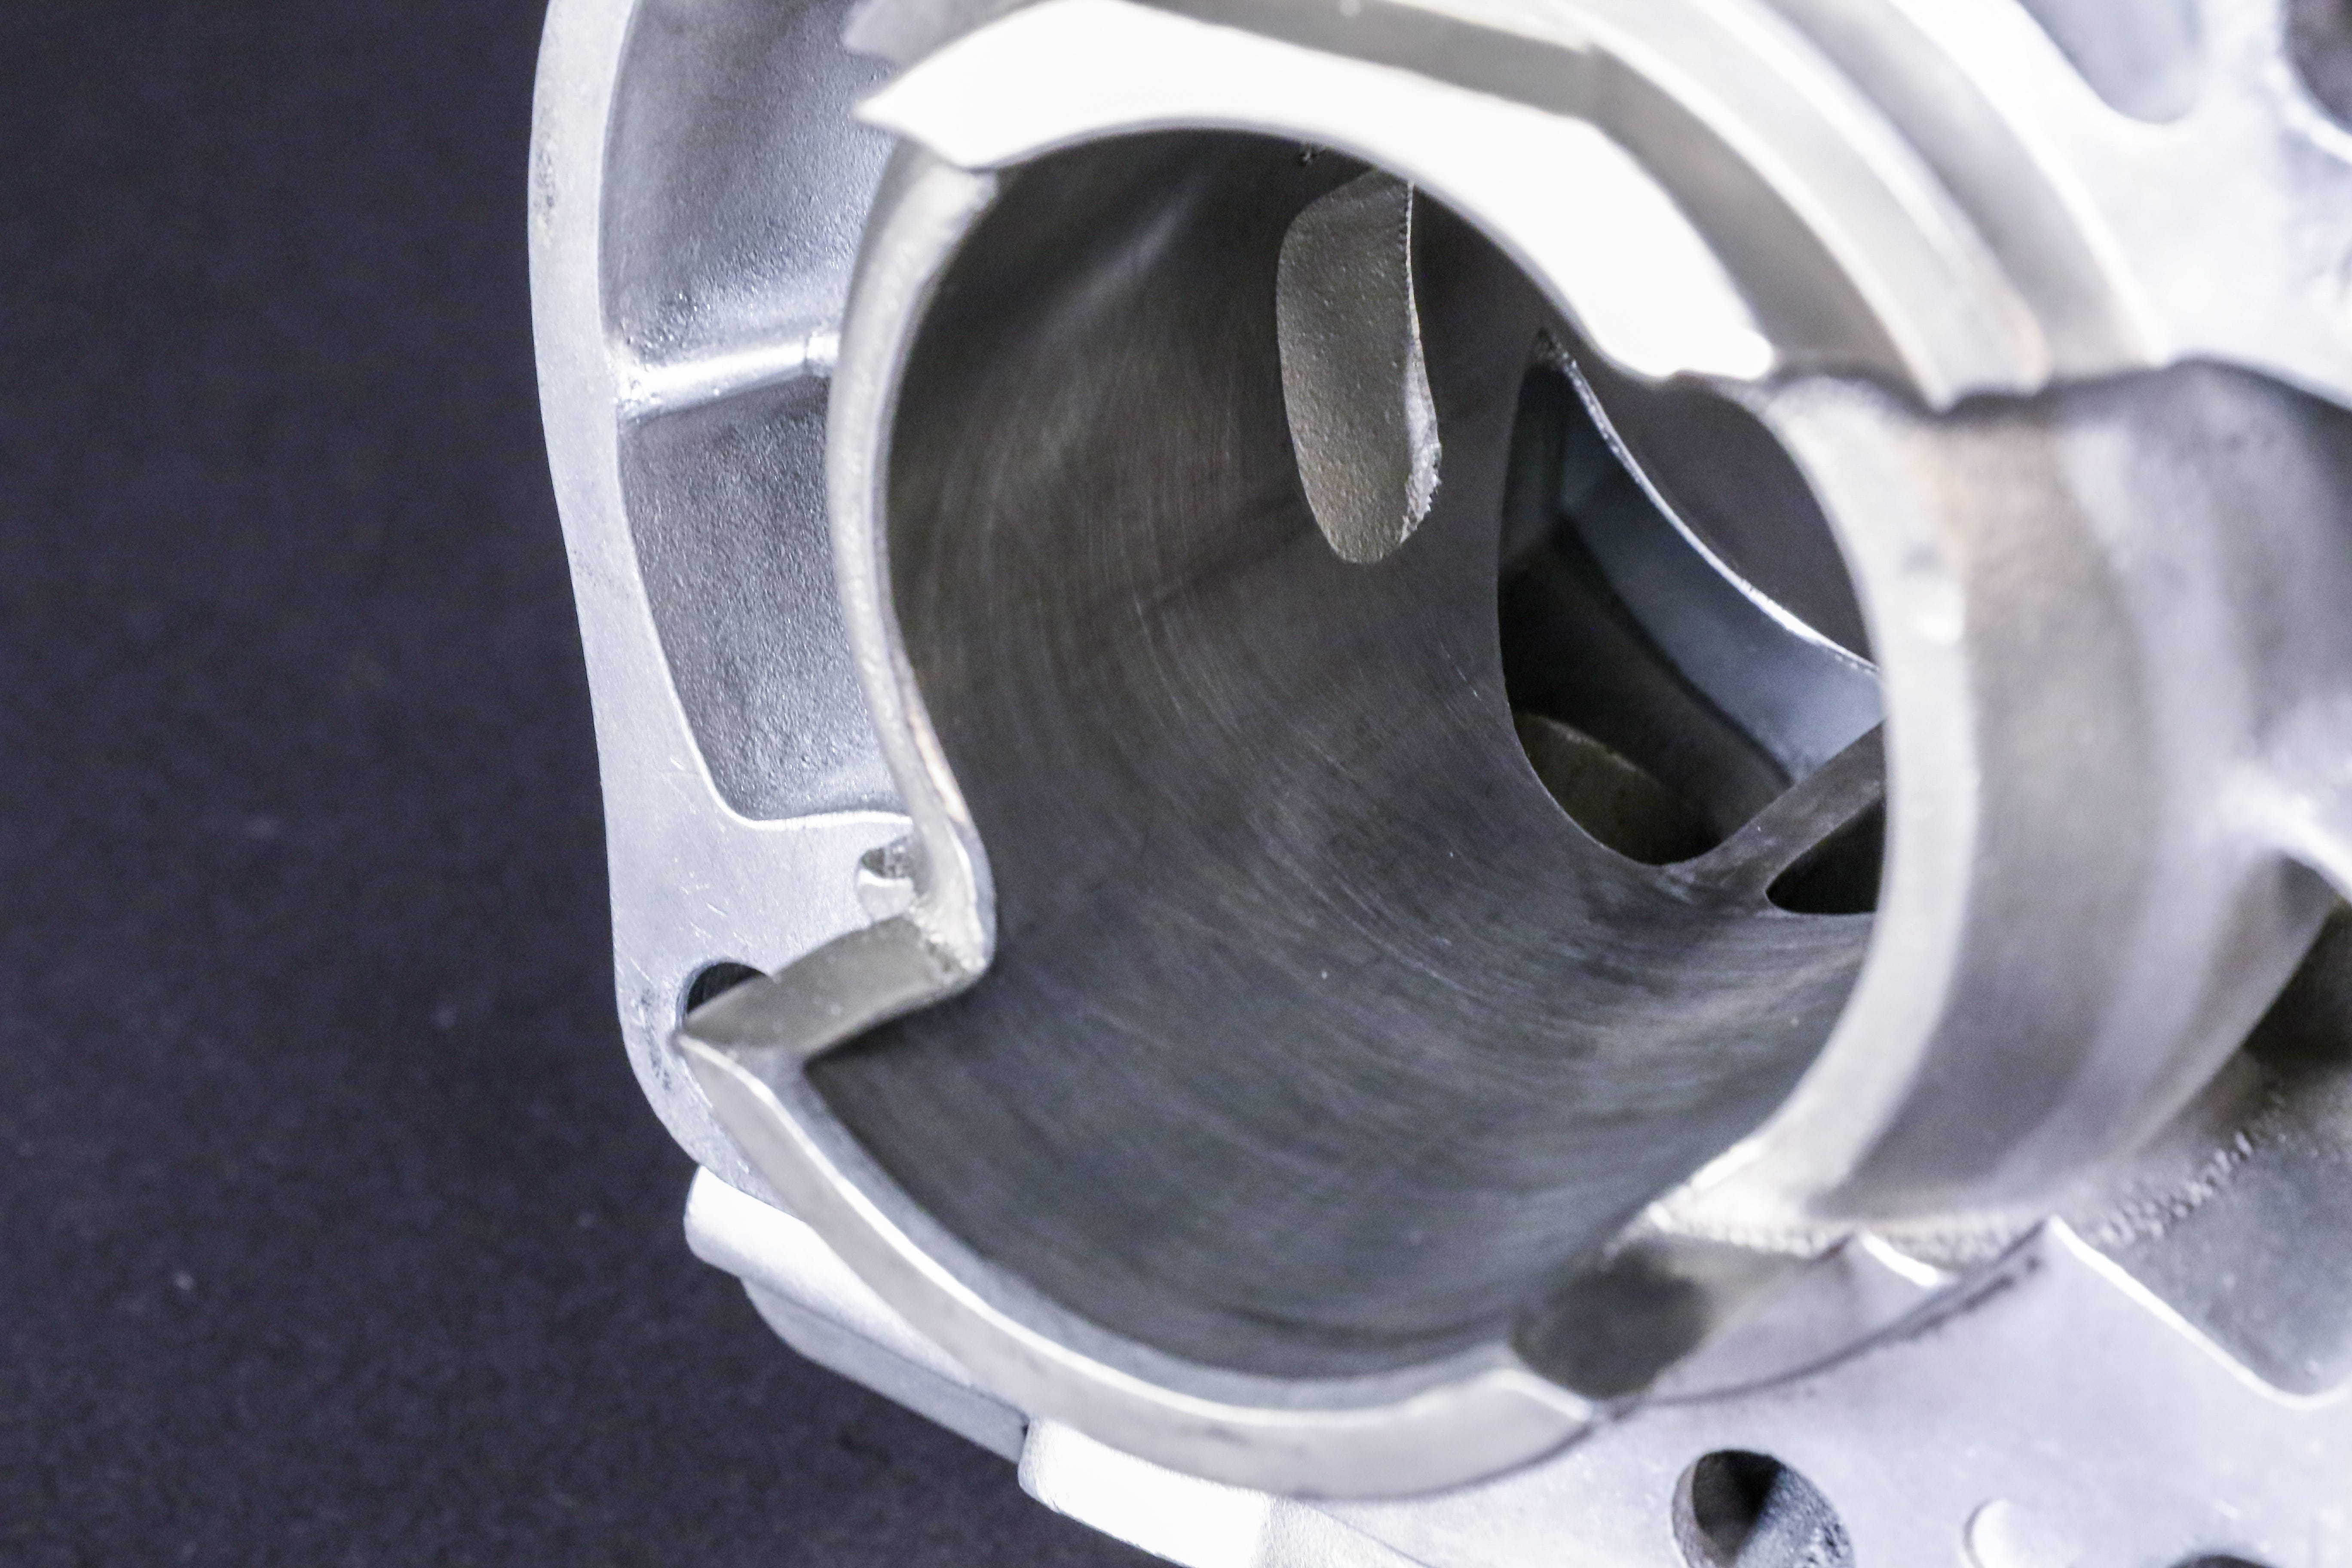
Power Valve Function – Cylinders that have been exchanged or replated should have the power valve system reinstalled ahead of final installation. Often times, excess plating can inhibit power valve movement. To correct this, the excess plating must be carefully removed. On cylinders utilizing blade style power valves, the blade position with respect to the cylinder bore should be checked to ensure the blade does not protrude into the bore.
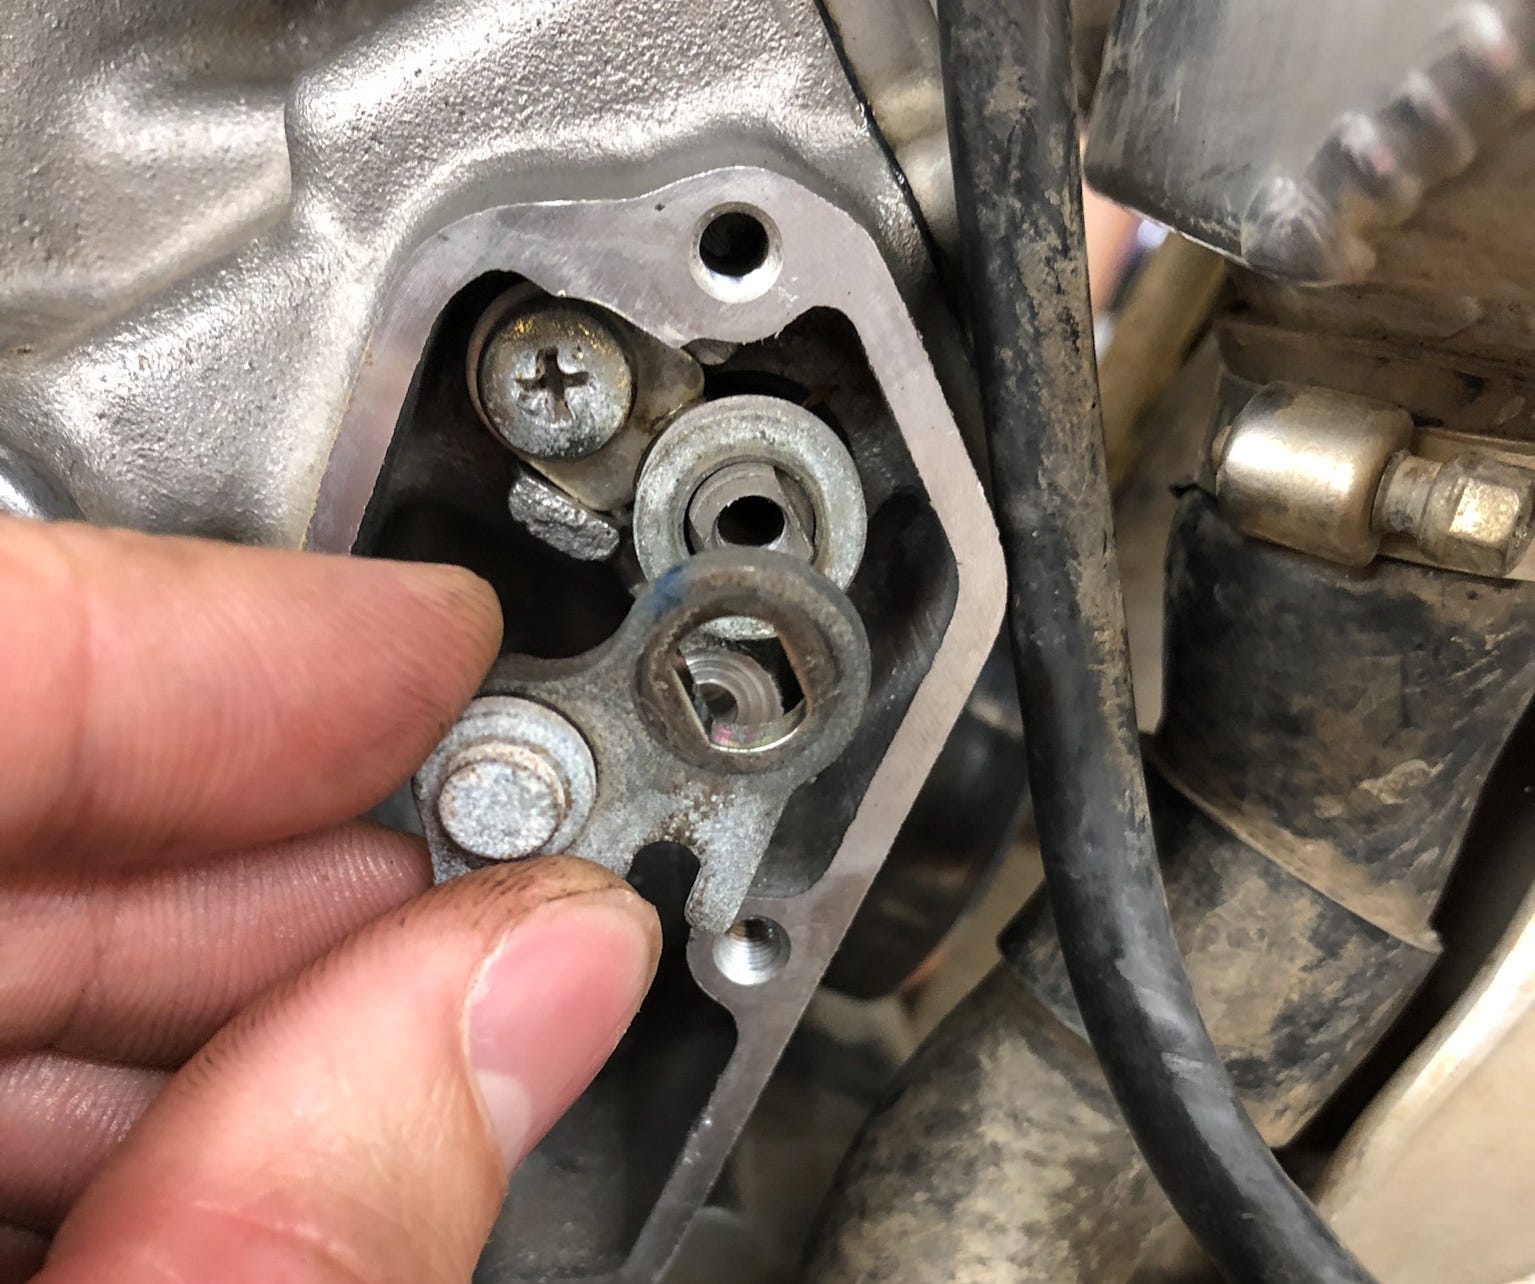
- Make sure your power valve is reassembled and functioning properly before reinstalling the cylinder.
- Piston – It is usually easiest to prepare the new piston as much as possible by installing one of the circlips and the ring pack ahead of joining it to the connecting rod. Unless your service manual dictates which circlip must be installed first, choose the easiest installation orientation. Typically, your dominant hand and preferred work orientation will dictate which side you choose to install the circlip on.
- Reference your service manual to determine the correct orientation of the circlip. Usually, the open end of the circlip should be oriented to the 12 or 6 o’clock position. Temporarily install the wrist pin and use it as a backstop so that the circlip is forced to move into its groove. Installing the circlip should be done by hand to limit the chance of deformation. Orient the circlip to the desired position, then push the open ends of the circlip into position first. Be careful not to scratch or mar the wrist pin bore in the process! Once installed, use a pick or screwdriver to confirm the circlip is fully seated and does not rotate. Any circlips that can be rotated must be replaced because they have been compromised and deformed during installation.
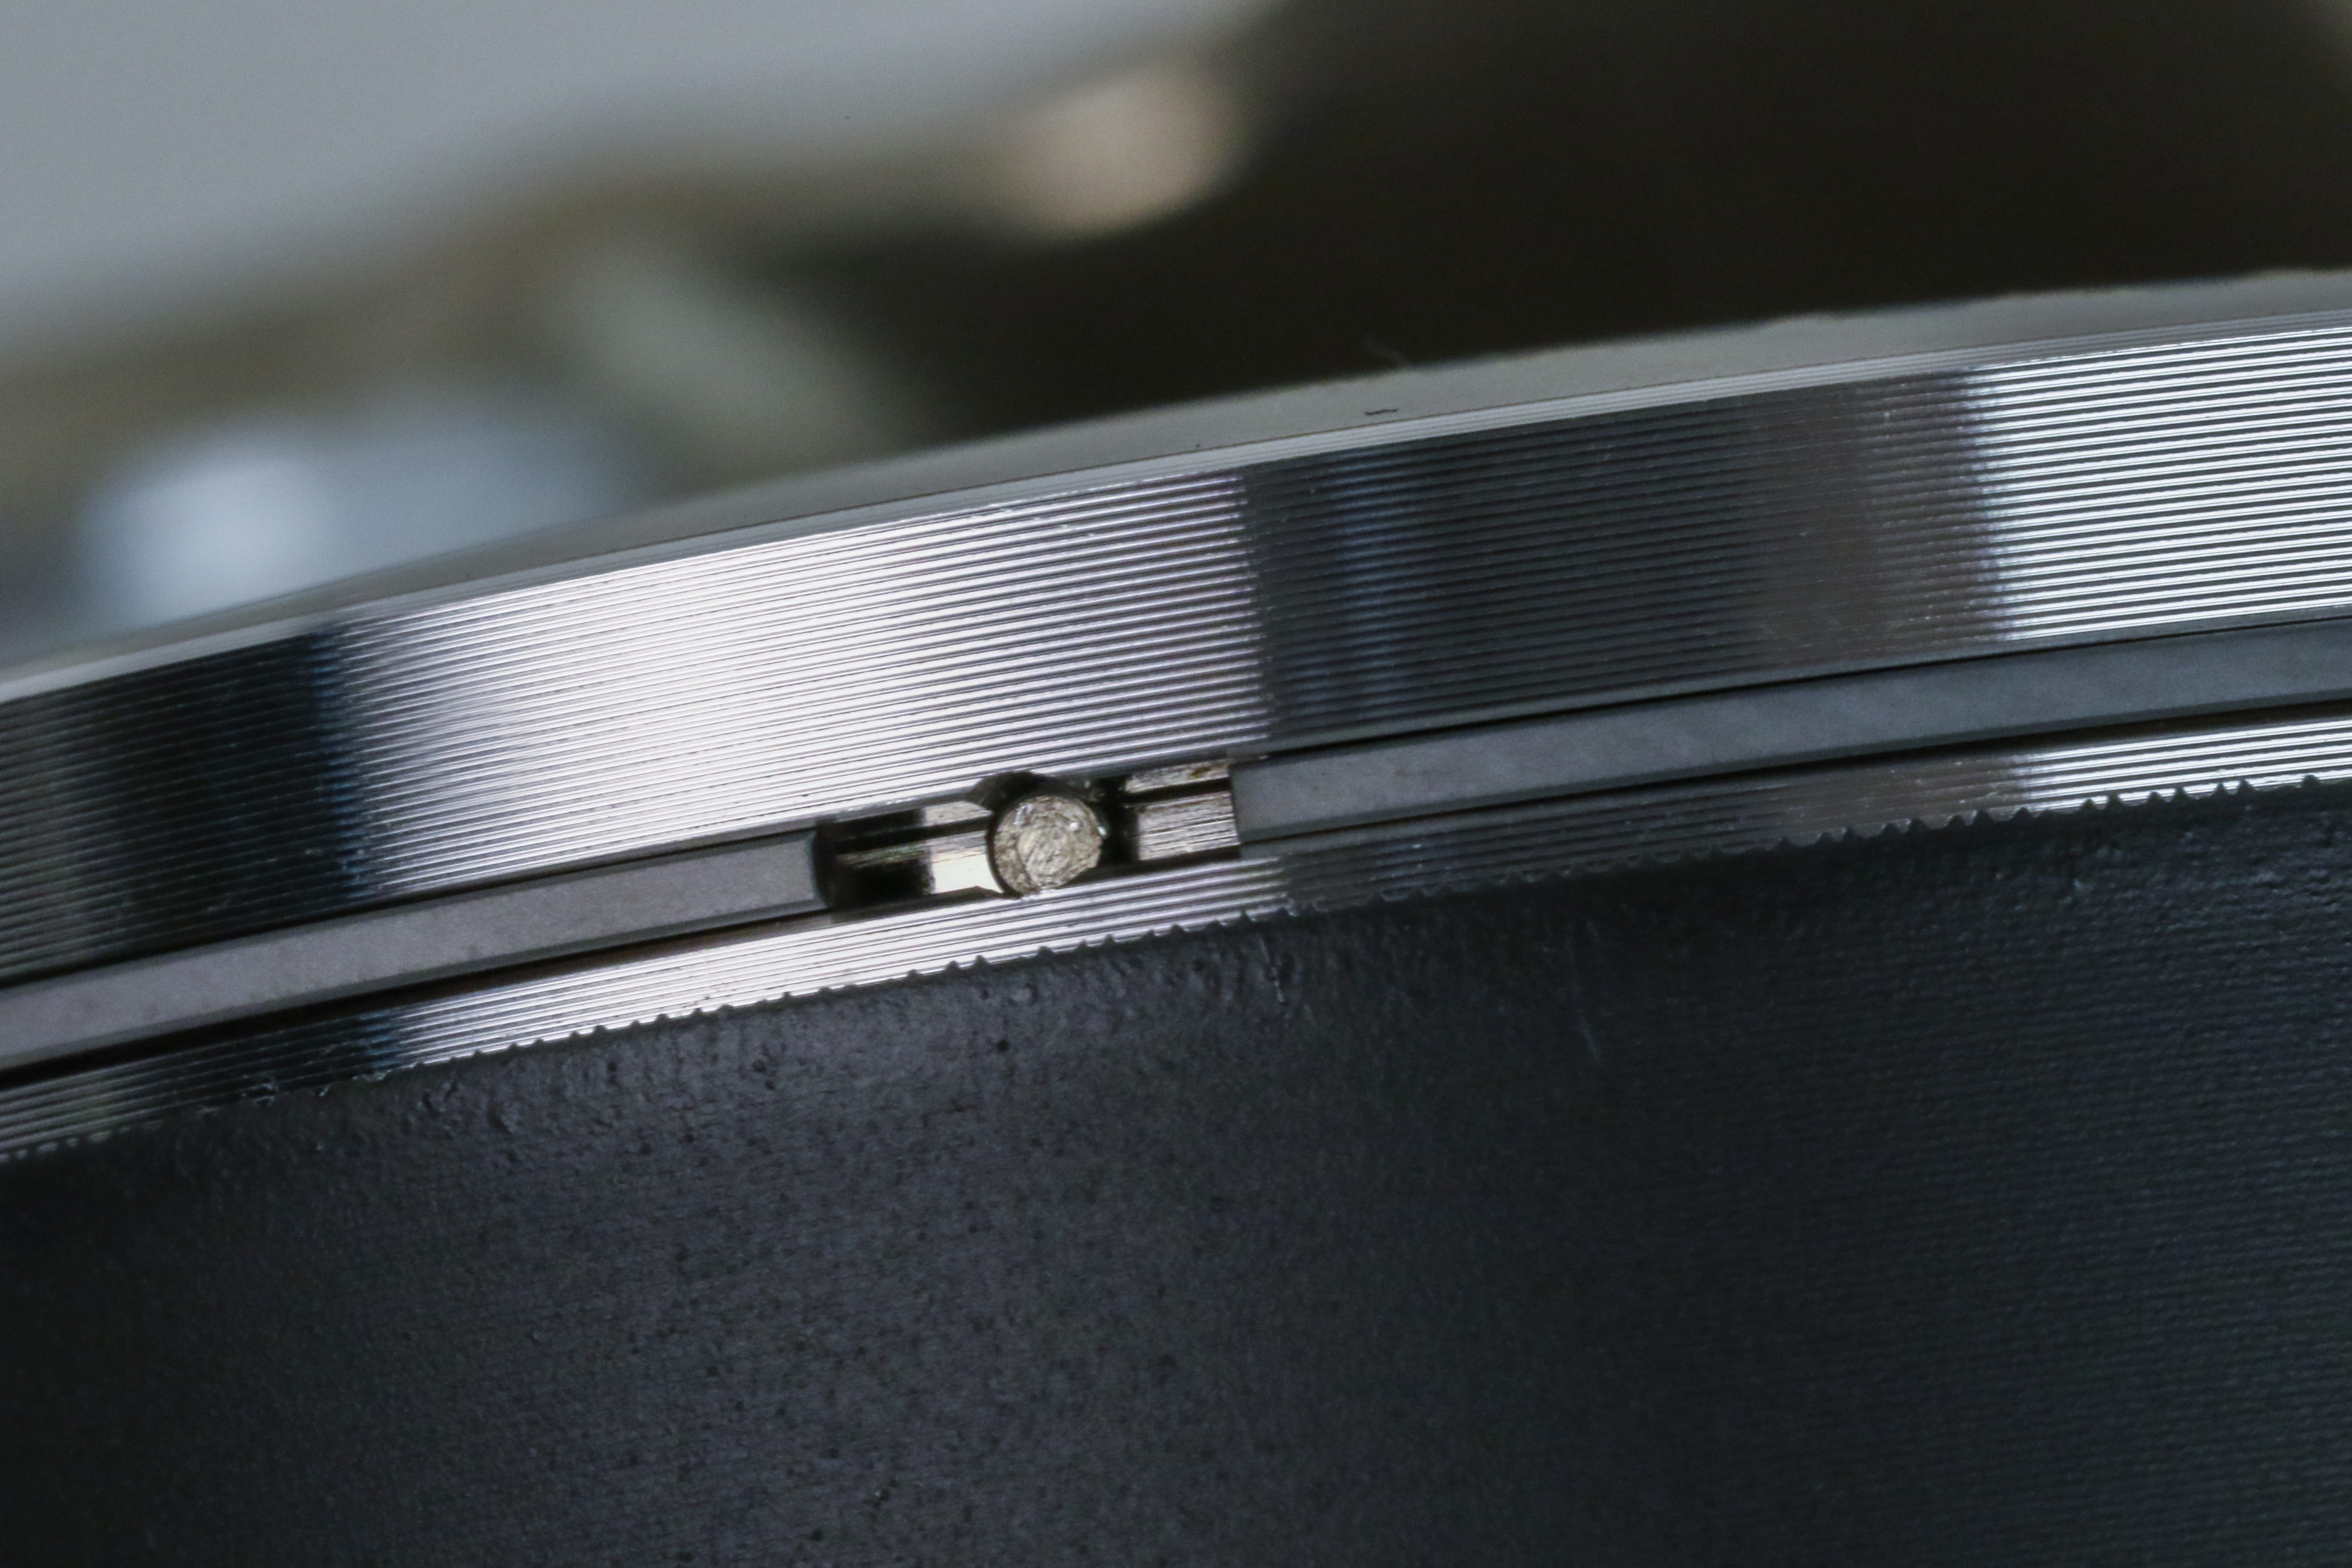
- Rings – The compression ring(s) will be directional, and the top of the ring is typically denoted by markings near the end gaps. Apply a thin coat of oil to the ring, then carefully work the ring into position.
Installation
Carefully work through the installation process by paying attention to the small details. Double check instructions and don’t force anything that feels abnormal. Be especially careful when mating the cylinder to the piston assembly.
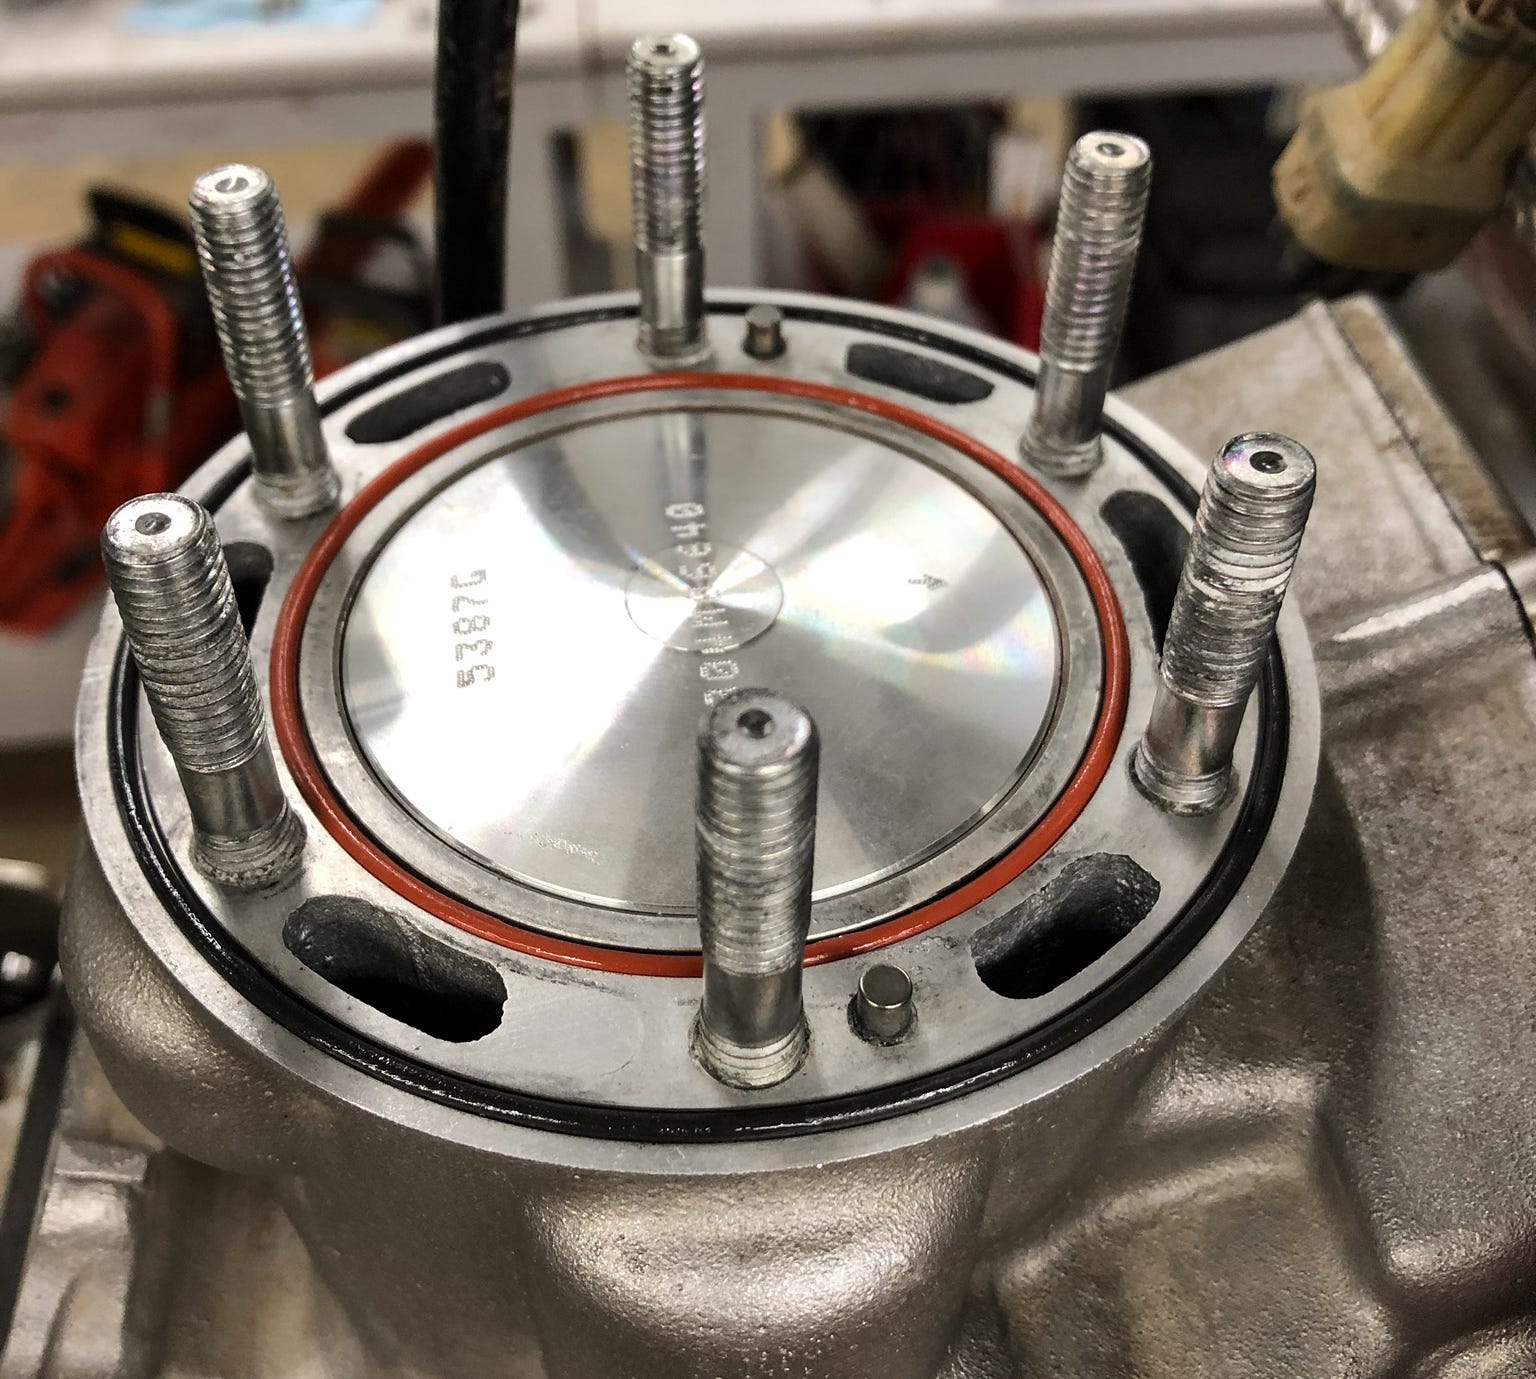
- Piston – On the top of the piston, an arrow will be imprinted, which typically denotes the exhaust side of the piston. Consult your service manual and/or instructions that came with your piston kit to confirm the proper orientation of the arrow and piston. Apply a light amount of assembly lube to the small end bearing and wrist pin bore on the piston, then install the bearing, align the piston with the small end of the rod, and slide the wrist pin into place. Once again, use the wrist pin as a backstop then install the remaining circlip into position. Use a pick or screwdriver to confirm it is fully seated and does not rotate.
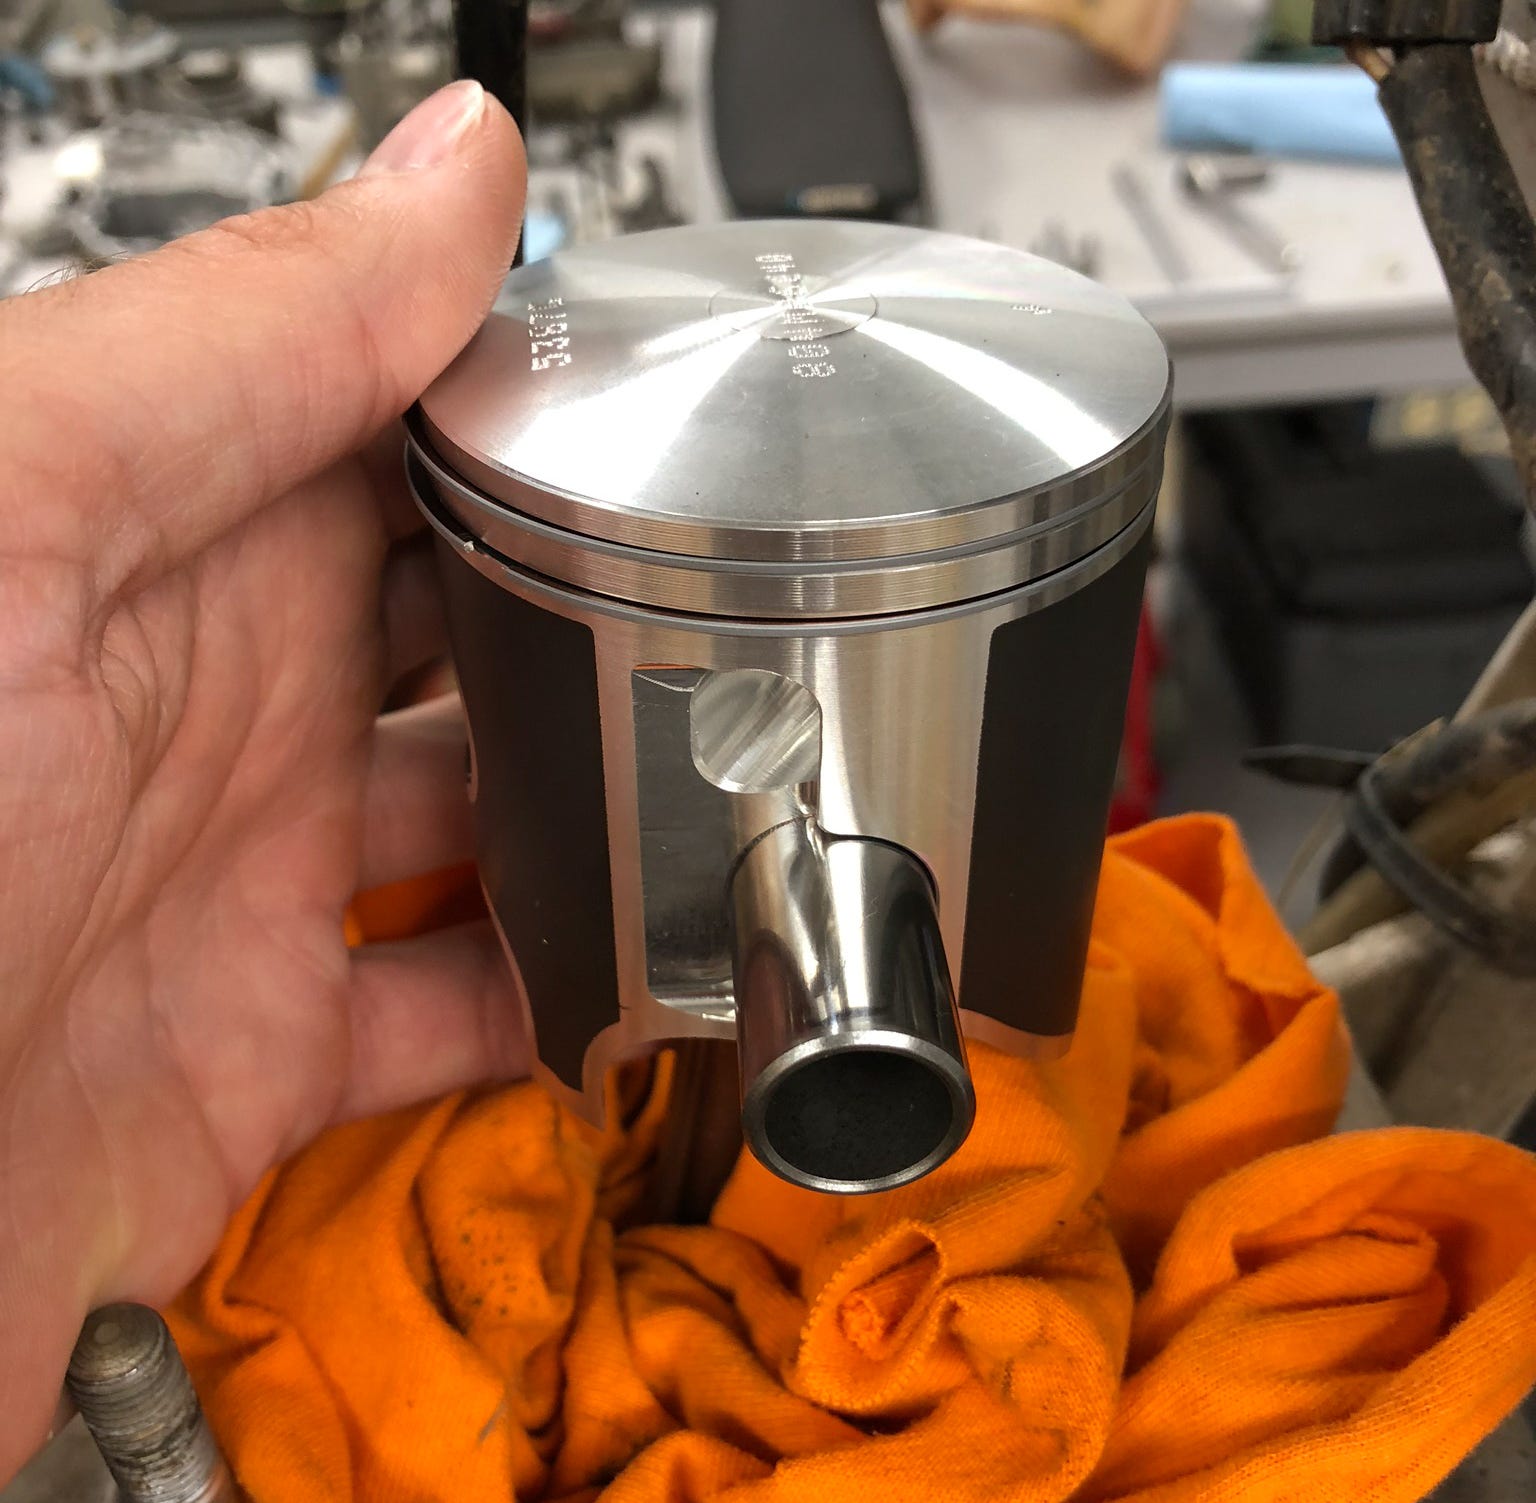
Cylinder to Piston – In most applications, a ring compressor is not required to compress the rings and install the piston into the cylinder. Lightly oil the cylinder bore with assembly lube or engine oil. Then, lube the piston skirt and ring faces. Prior to installing the piston and rings, confirm one final time that the piston ring ends are oriented correctly to their respective locating pins.
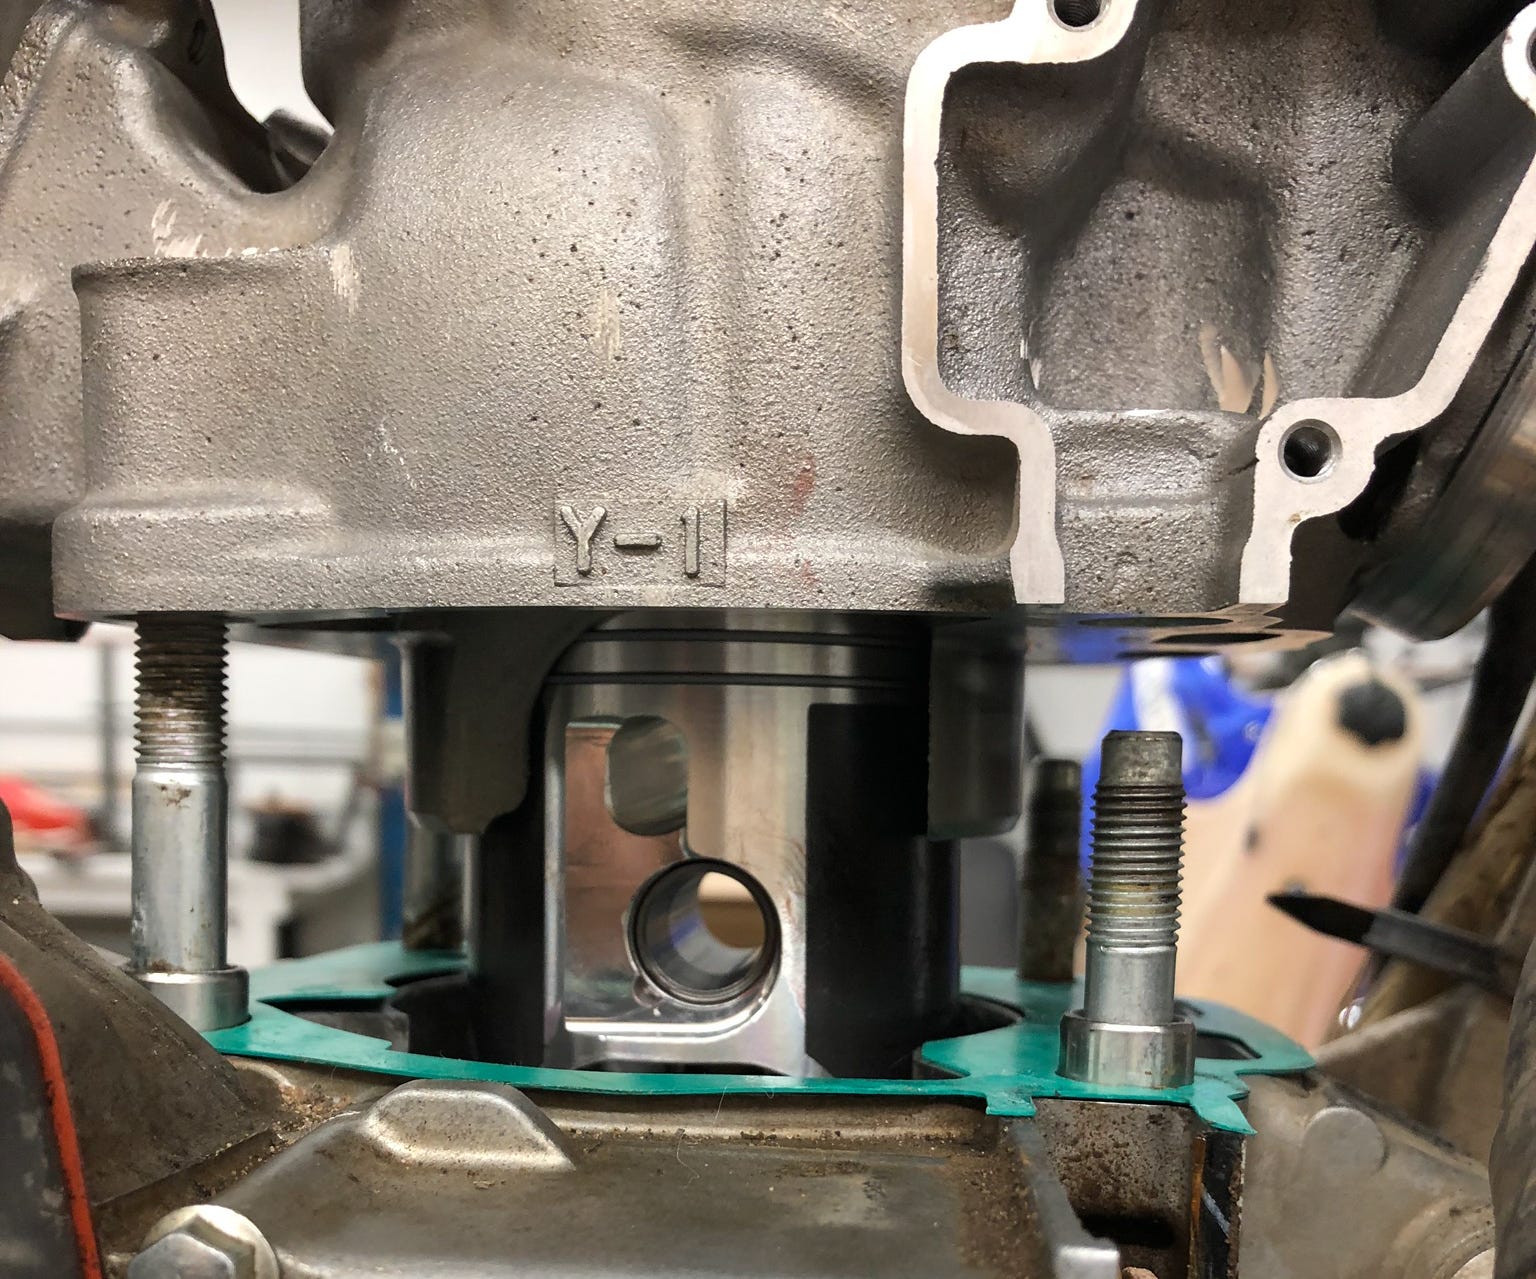
- Position the piston at or near TDC, then carefully lower the cylinder bore down onto the piston. Use your fingers to compress the ring(s) and ensure the cylinder bore is square to the piston. Feel how easily the cylinder slides over the piston and rings. The installation of the cylinder should be smooth and offer little resistance. If resistance is felt, stop immediately and assess the ring pack. Occasionally, one of the rings may come out of position in its groove and snag the cylinder bore. This typically happens as the ring transitions out of your fingers and into the cylinder bore.
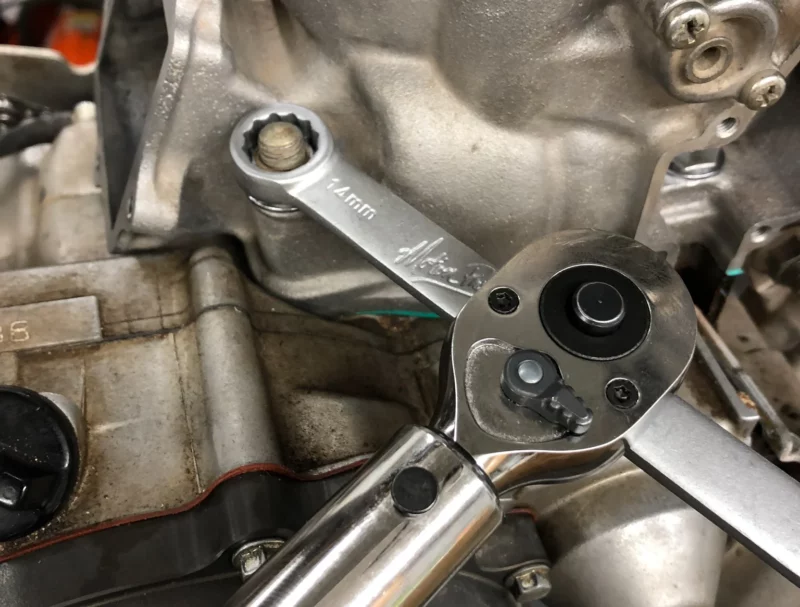
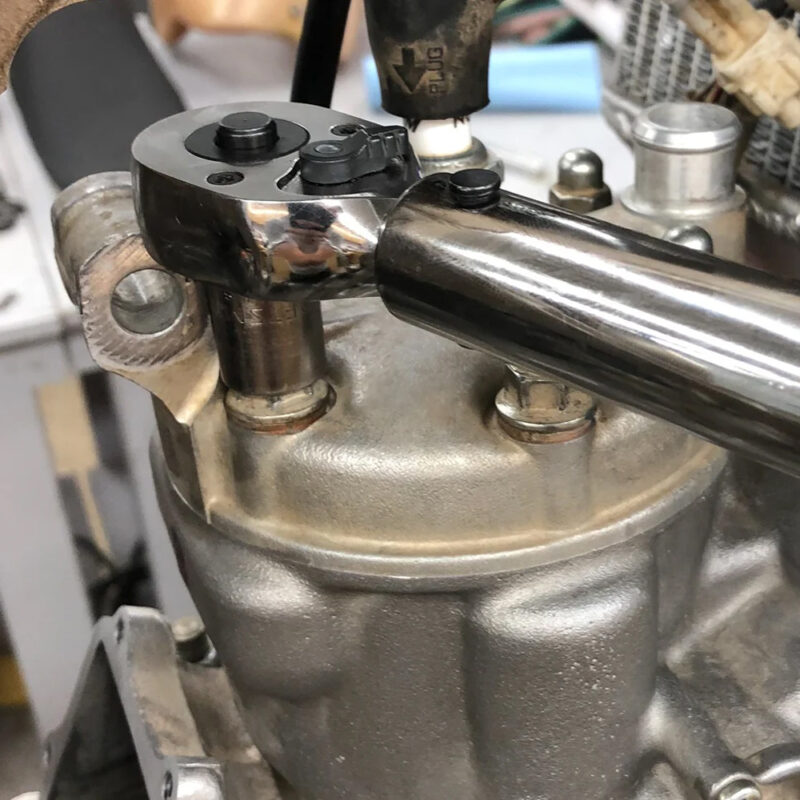
Always make sure to torque your cylinder and head bolts to the spec outlined in your owners manual. Tighten the head bolts in a star pattern to prevent warpage.
Post Build
Before firing up your fresh top-end, do these three things to ensure the engine performs optimally.
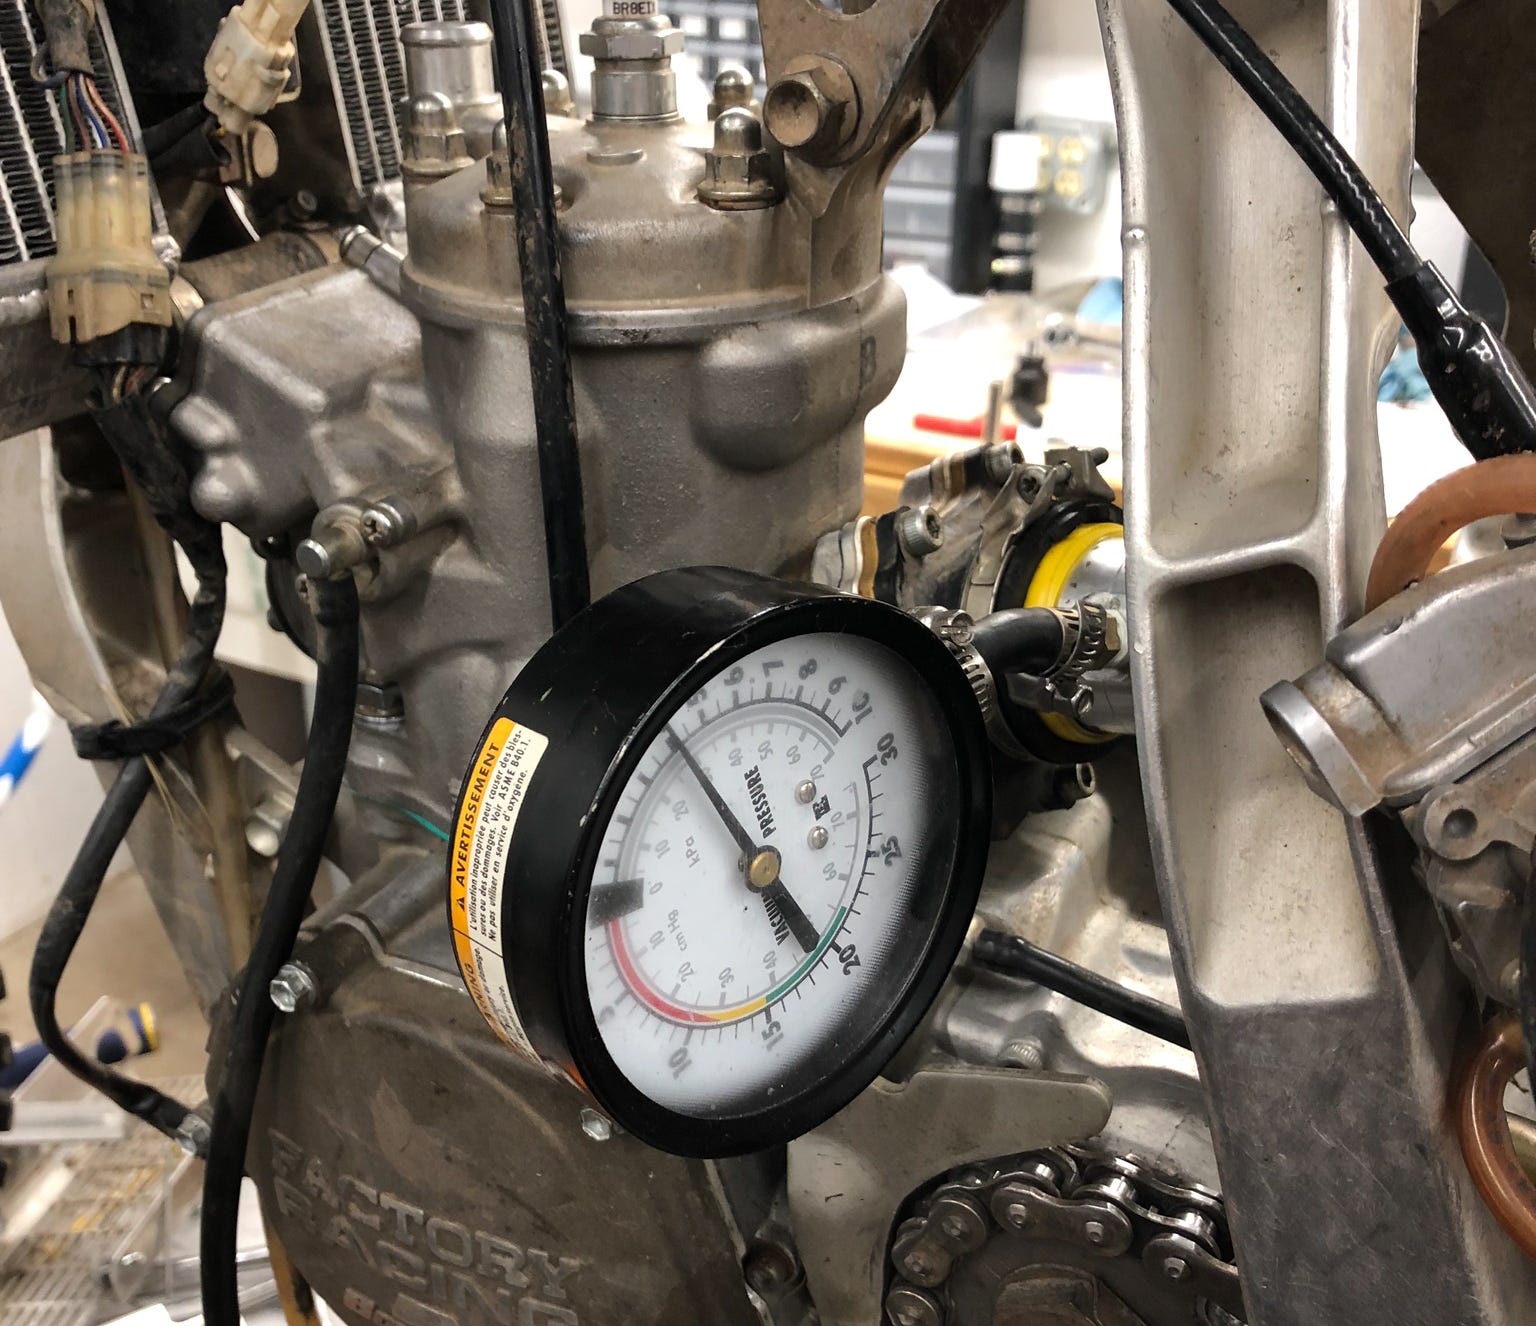
- Crankcase Leak Down Test – As one final precautionary measure, perform a crankcase leak down test. A crankcase leak down test will help confirm all the seals, gaskets, and joints are sealing as they should.
- Spark Plug – Don’t forget to install a new spark plug, and, if necessary, gap it appropriately.
- Air Filter – Be sure to install a clean air filter prior to start up.
Wrap Up
Top-end rebuilds shouldn’t be taken for granted or oversimplified since they deal with the heart of the engine. With adequate preparation, the right tools, attention to detail, and the appropriate knowledge, top-end rebuilds can be performed by anyone and yield great results. At Wiseco, we’ve performed countless engine builds and hope the information we’ve shared makes your next engine build go smoothly and successfully.
